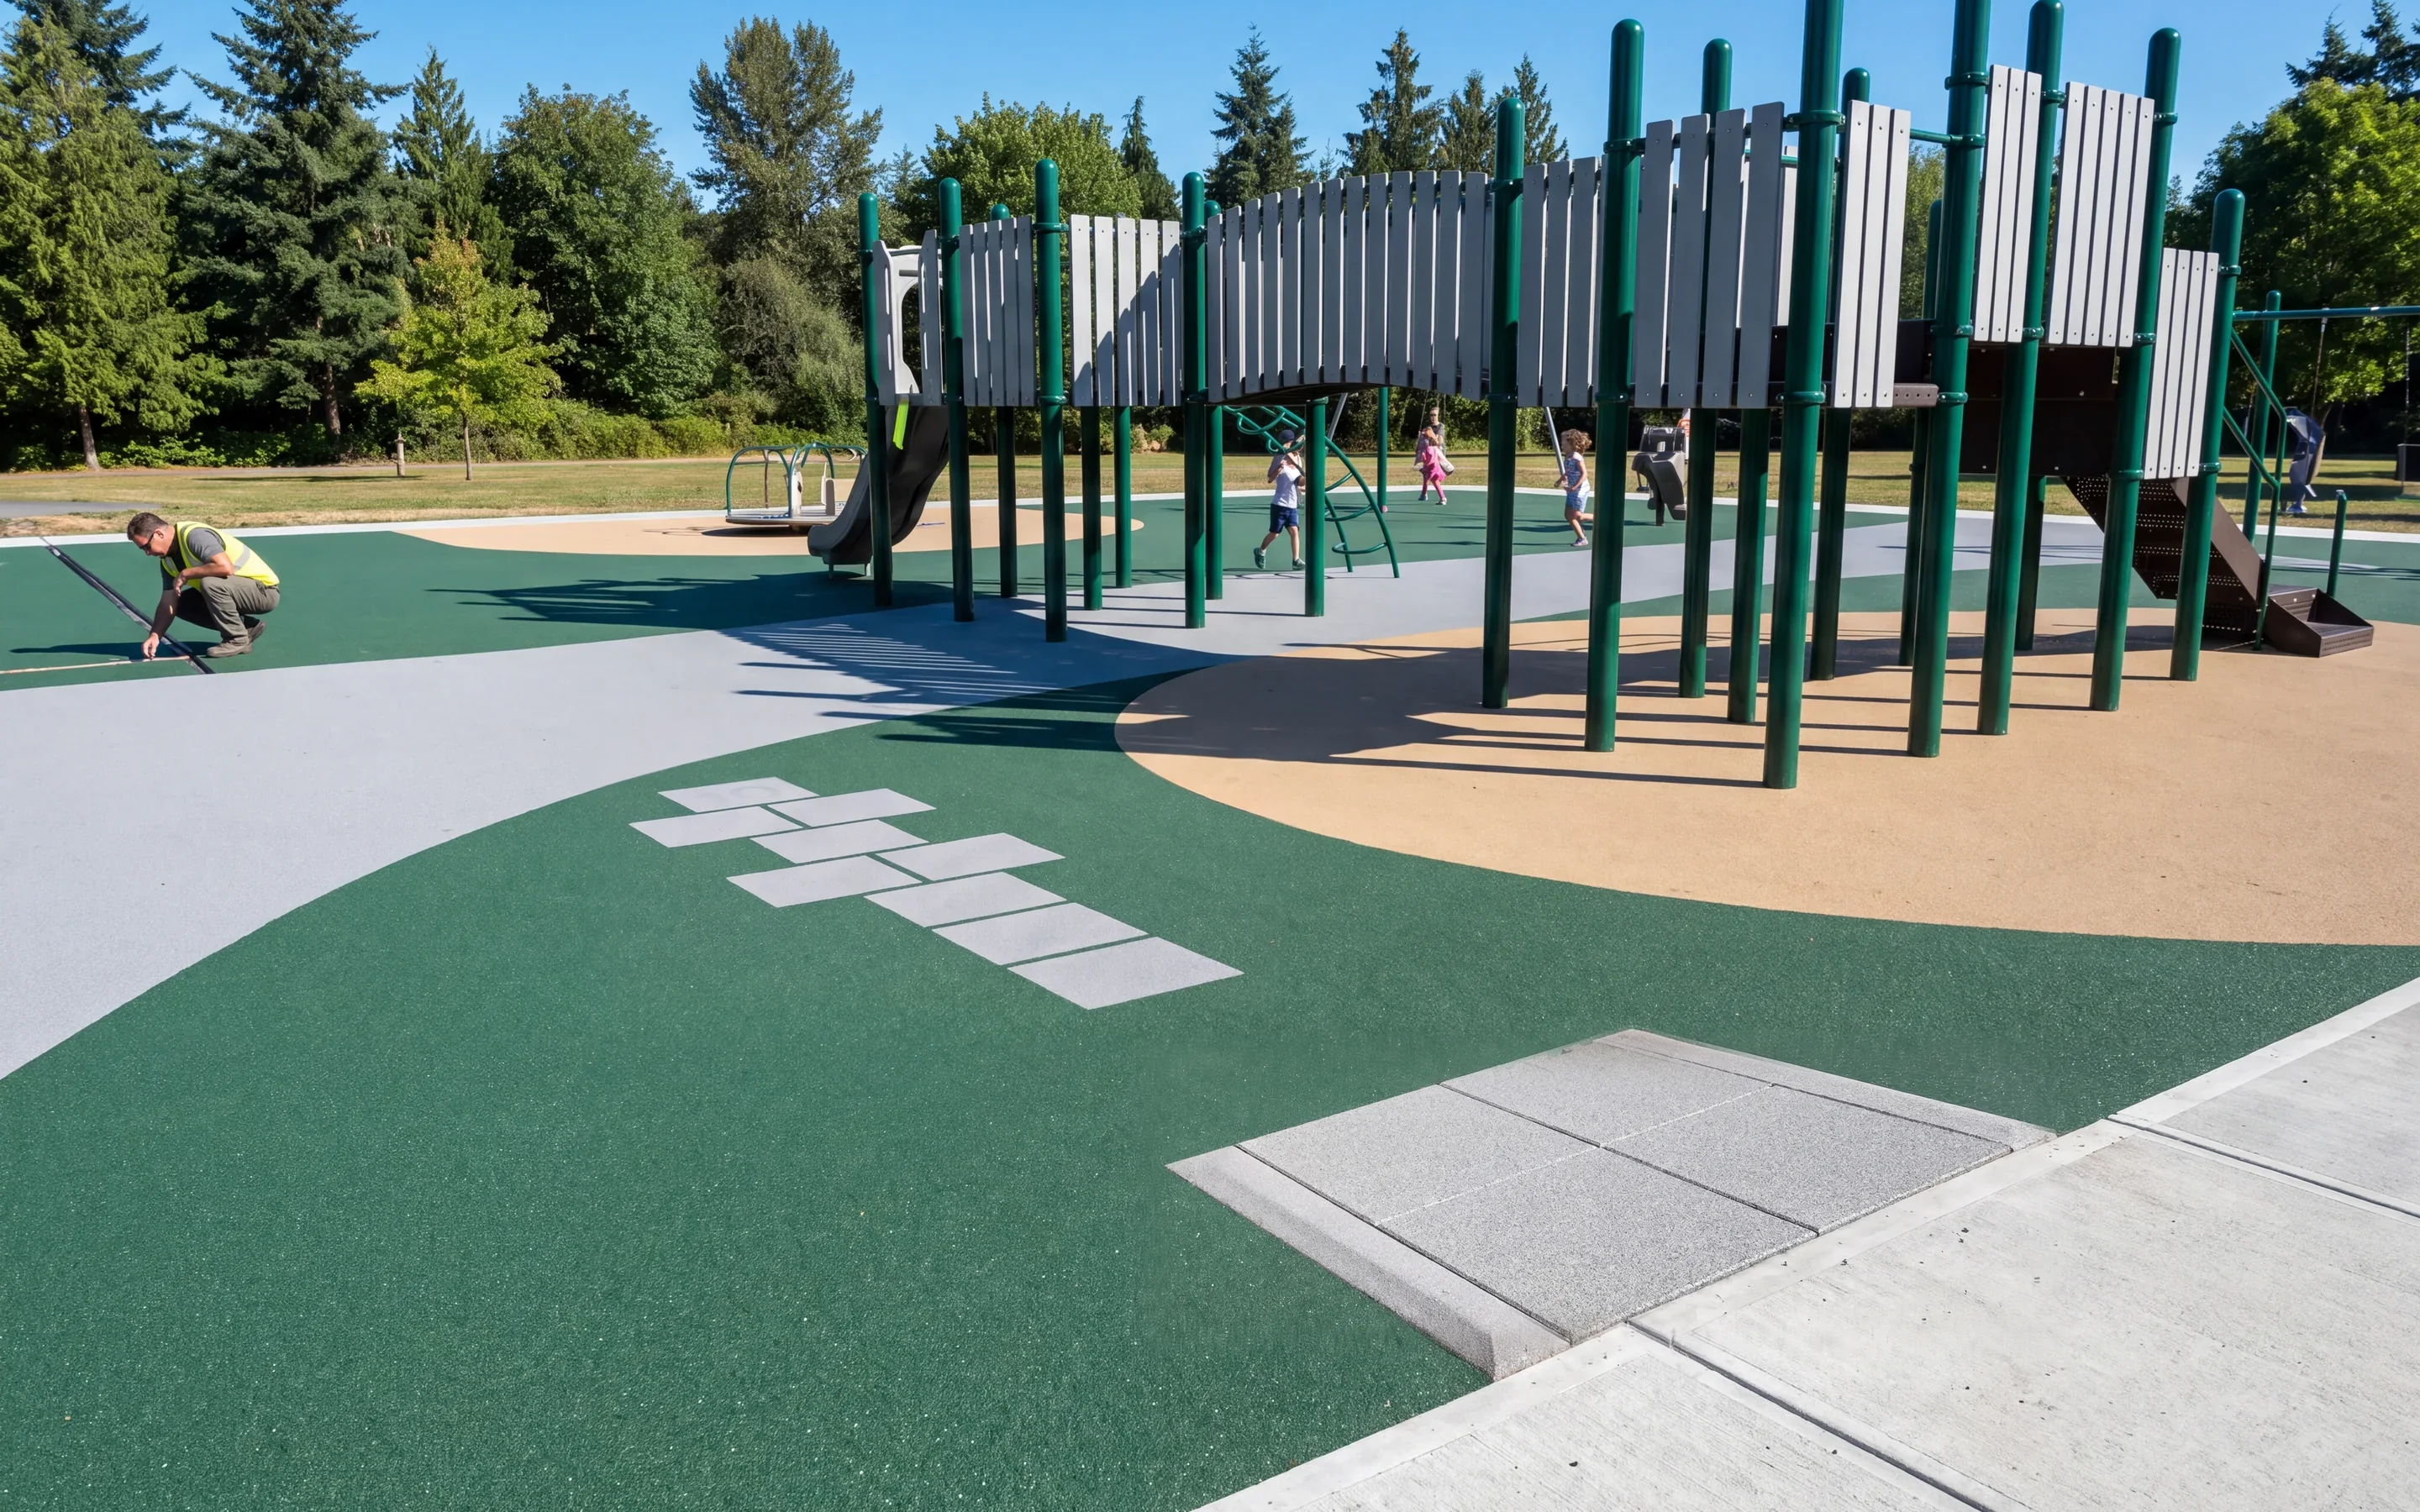
Playground SurfacingRubber Tiles, Poured-in-Place and Safety Surfacing by Fall Height
Playground Surfacing RangeRubber Tiles, Poured-in-Place EPDM and Loose-Fill Areas
Two kinds of playground surfacing, two-layer rubber playground tiles and poured-in-place EPDM, both made by partner factories and inspected by our QC before loading.
Every surfacing area is drawn on your playground layout as a numbered zone, P1, P2 and so on, with its material, thickness grade and color. The same zone code goes on the pallets and bags, the laying instructions and the repair record, so your crew lays each zone from its own labeled materials.
Surfacing is range RP-08 on our site, built by partner factories and inspected by our QC.
-
Ships as · palletsP#
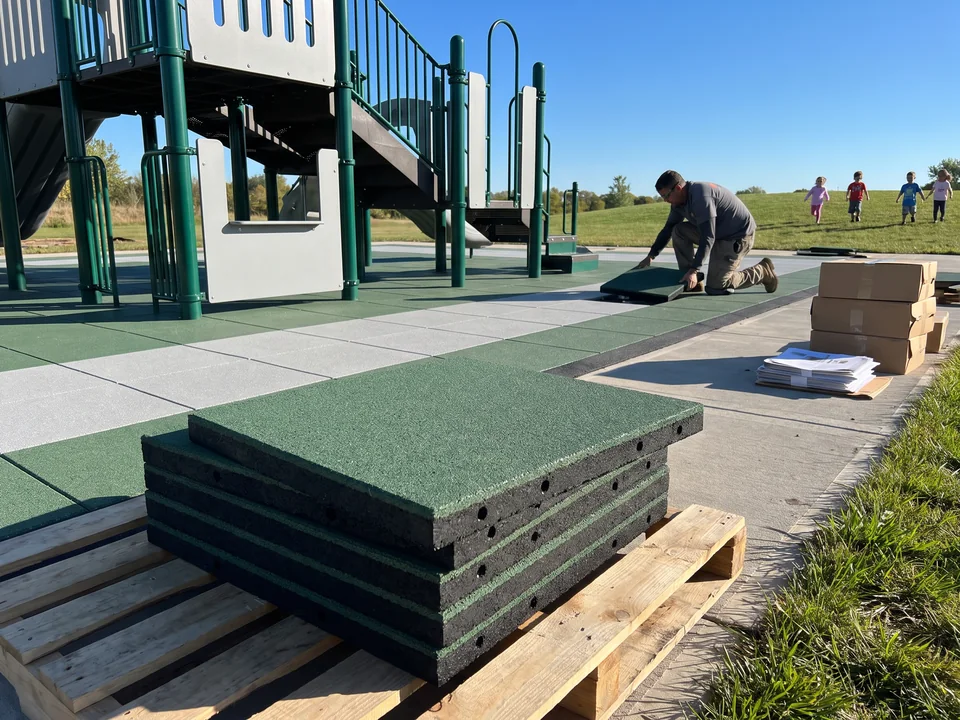
Two-layer rubber tiles
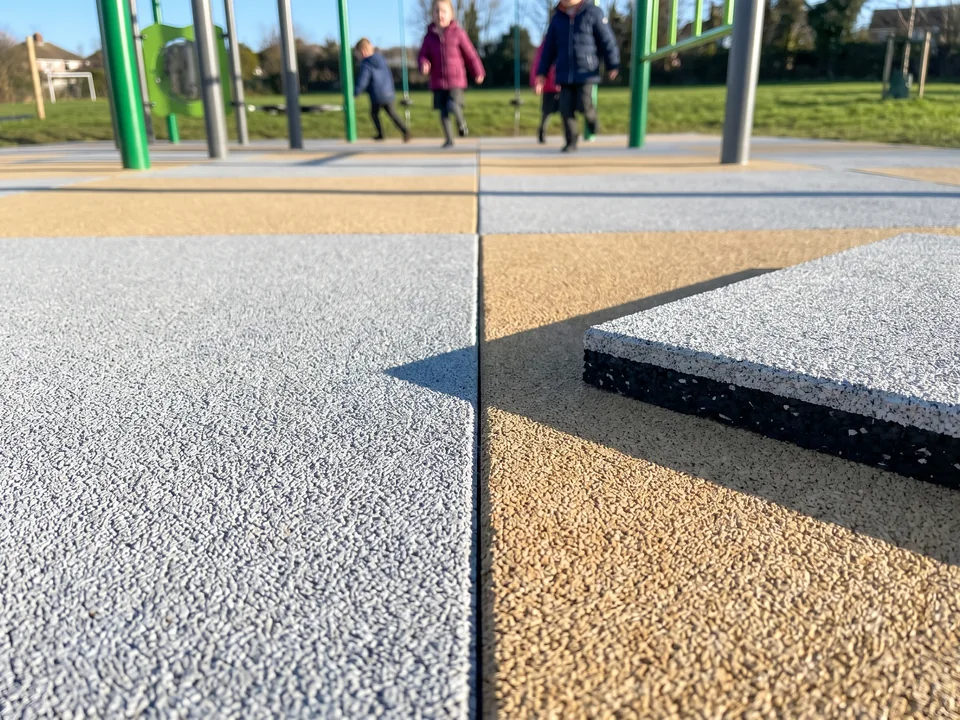
A recycled SBR rubber base with a colored EPDM wear layer, in the partner's standard tile size, joined by dowel pins or interlocking edges.
Labeled by zoneConstruction ↓ -
Ships as · palletsP#
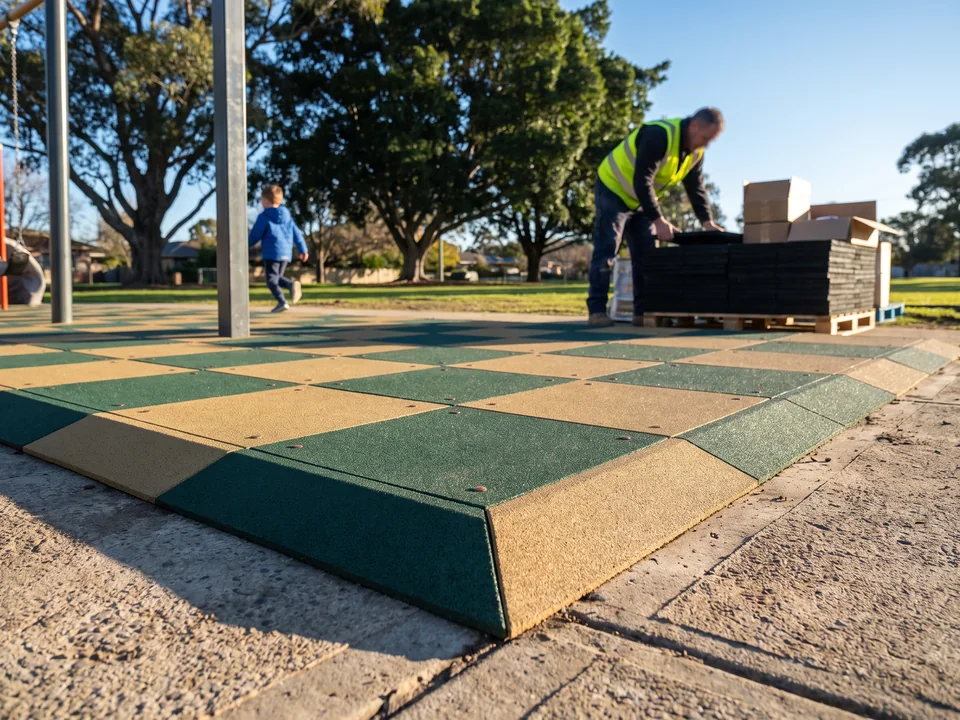
Beveled ramp edges and corner pieces
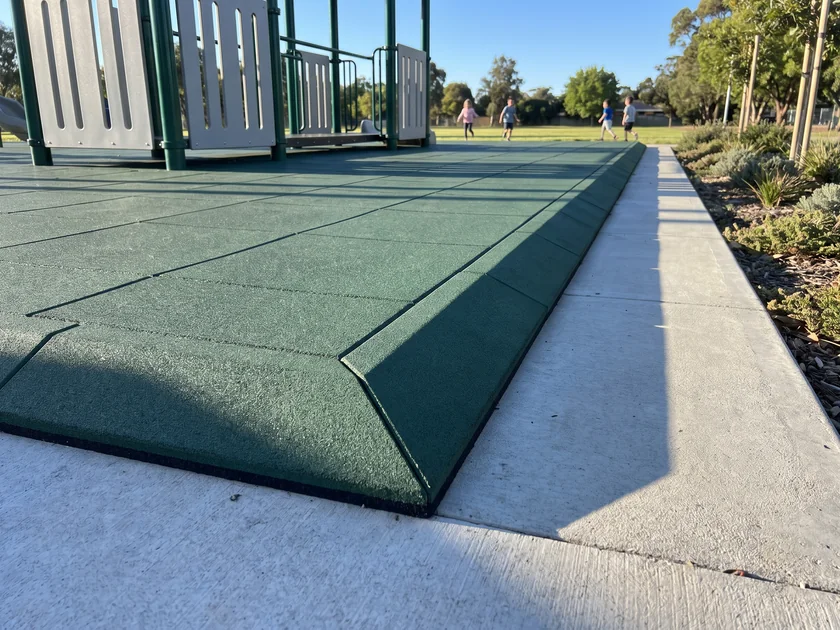
In the tile color, for the outer edges of tiled areas.
Labeled by zoneEdges ↓ -
Ships as · bags + drumsP#
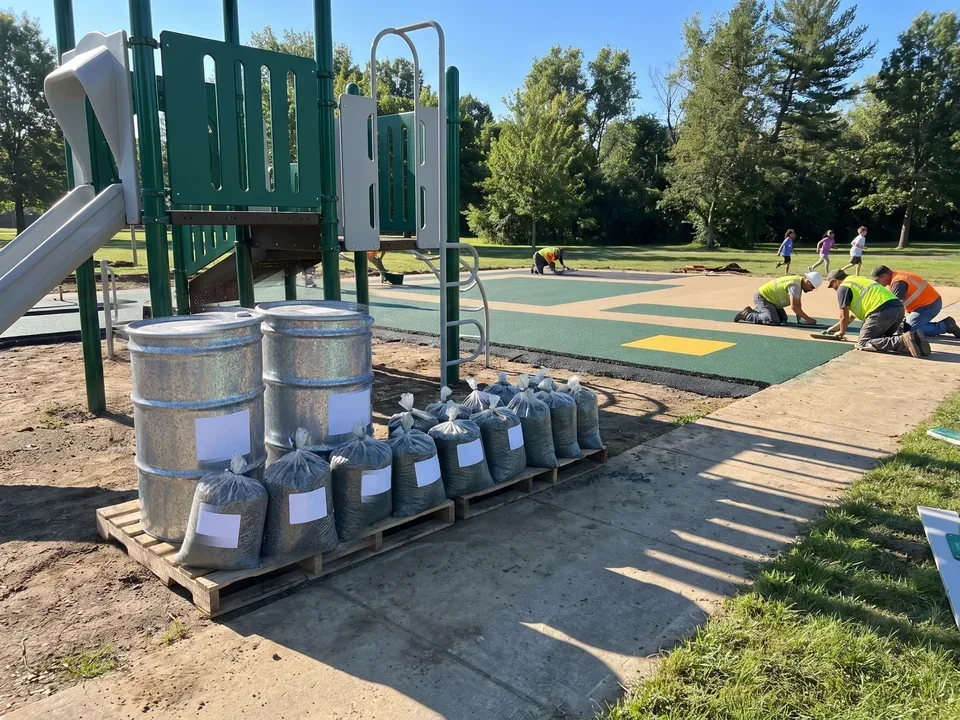
Poured-in-place EPDM
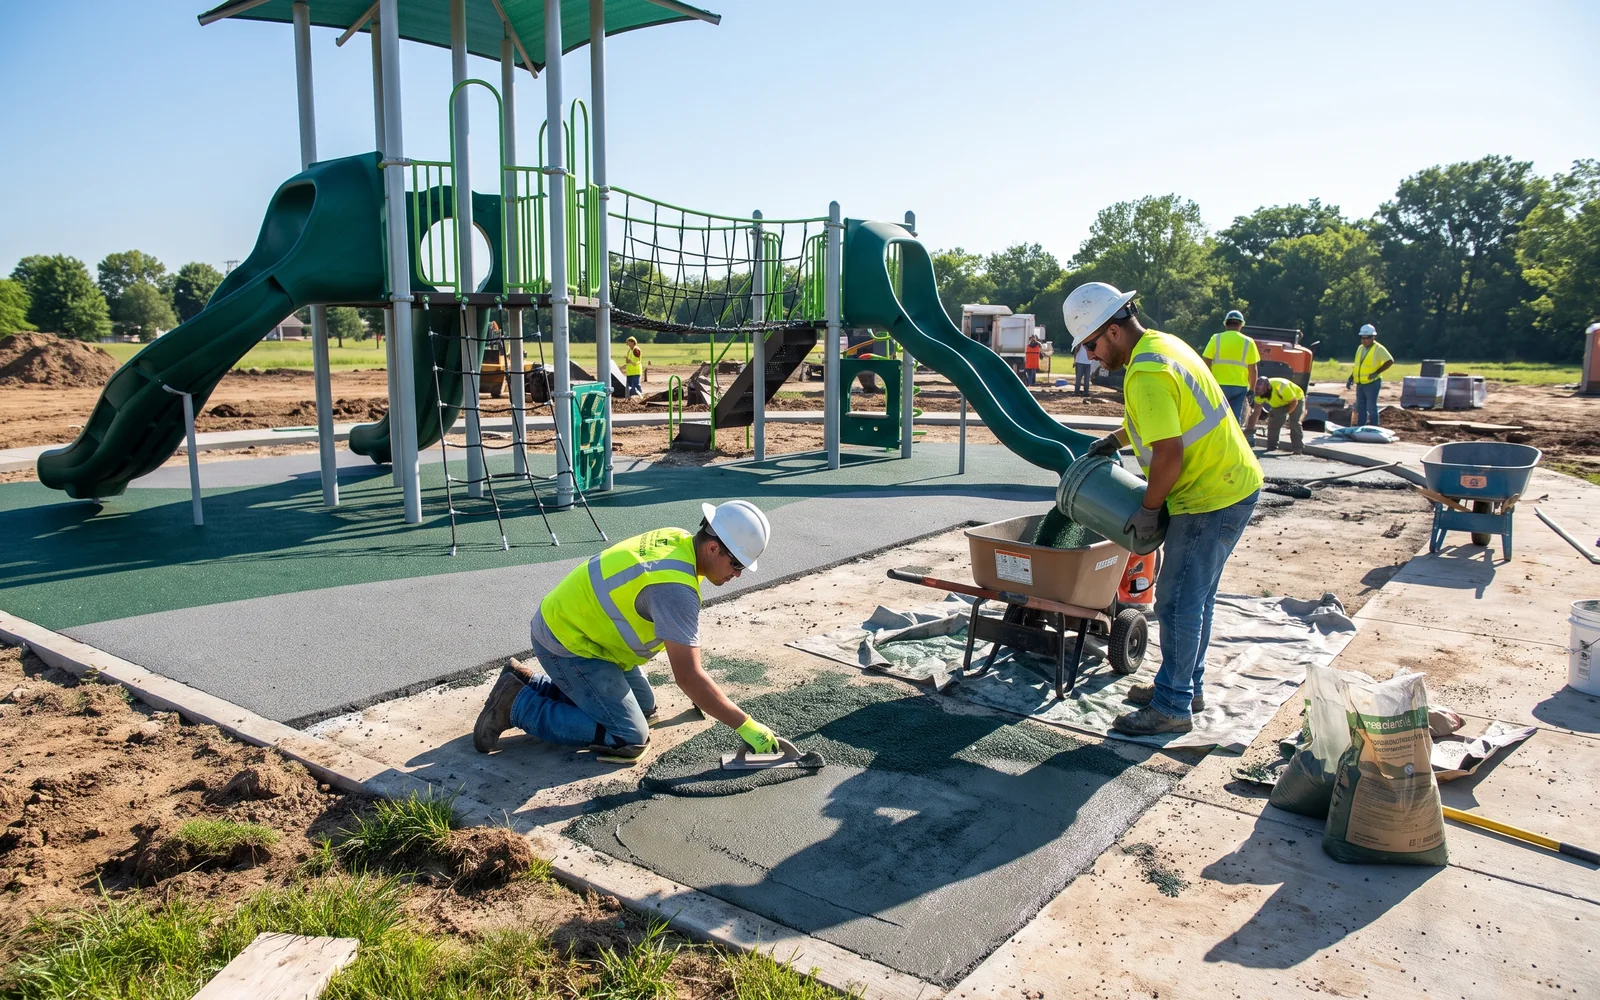
An SBR cushion base layer with an EPDM granule top layer, bound with PU binder and mixed on site. Shipped as granule bags and binder drums.
Labeled by zoneConstruction ↓ -
Ships as · kitP#
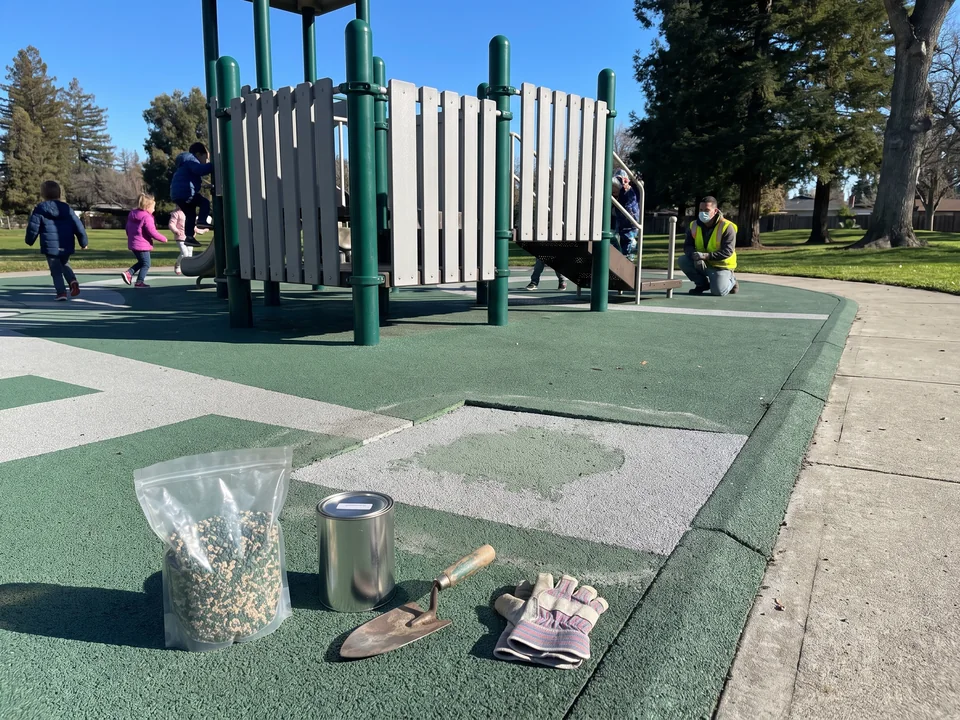
Poured-in-place repair kit
Granules and binder for later repairs, packed in your colors.
With the sparesRepairs ↓
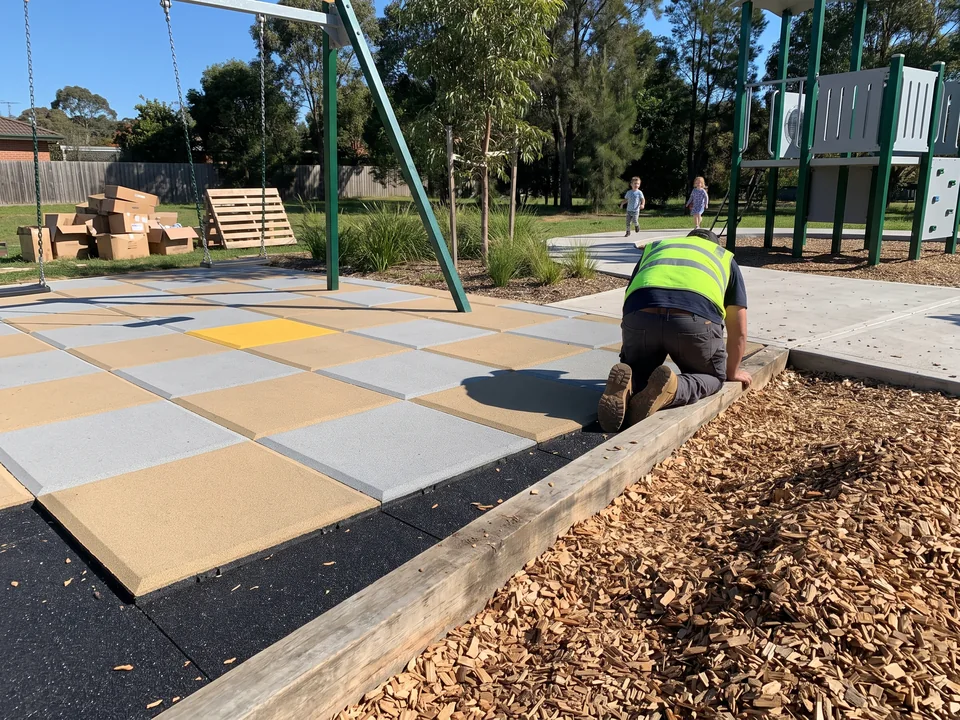
Loose-fill and artificial turf areas
Wood chip, sand and turf areas are drawn on the layout with their edging, and the materials are bought locally.
Drawn on the layout with their edging · materials bought locallyRubber Tiles vs Poured-in-Place EPDMChoosing the Surface for Each Zone
One site can use both. The choice is made zone by zone and shown on the surfacing layer.
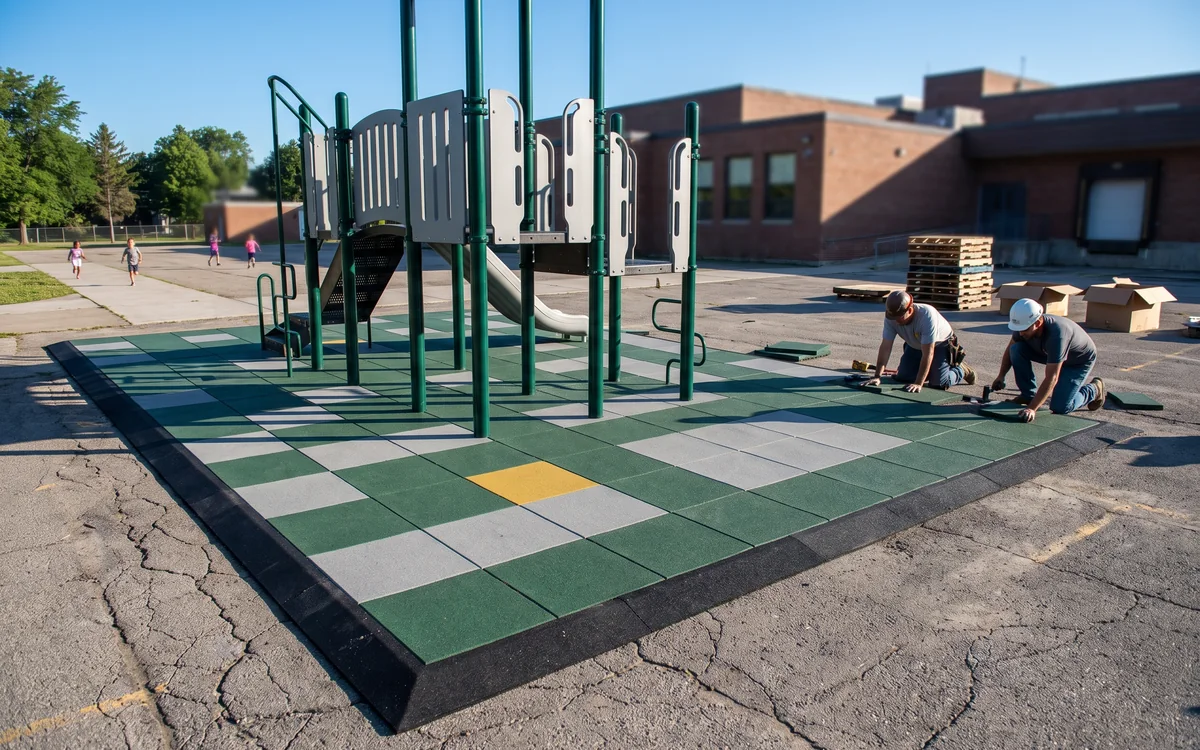
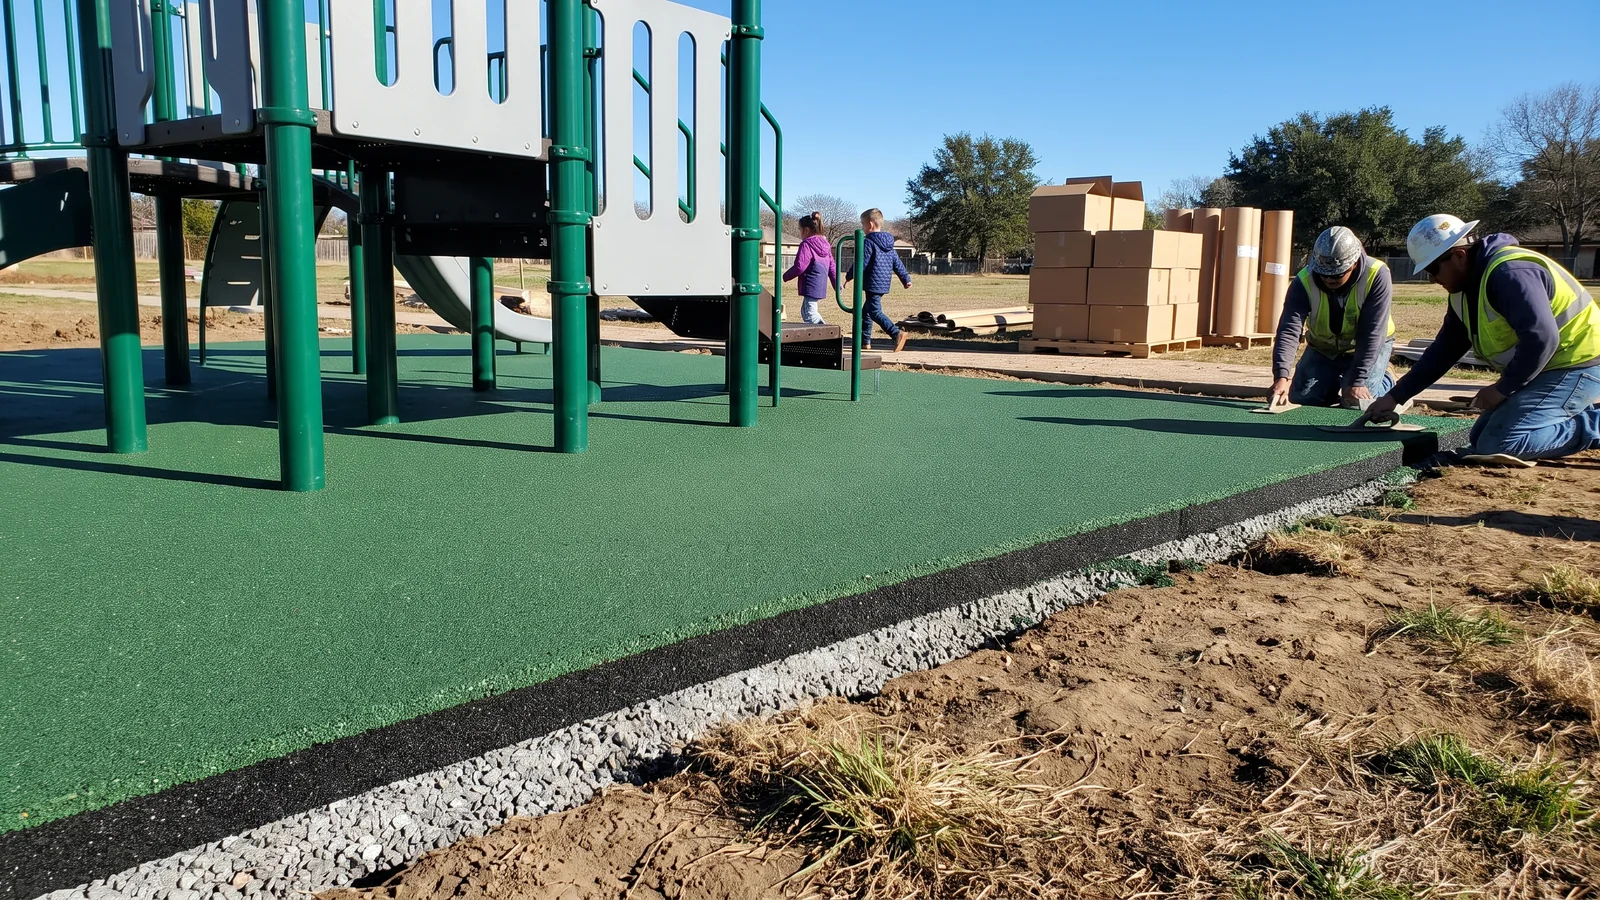
Point at a row to see its layer in the section · how fall heights and use zones are drawn: playground layout design
| Two-layer rubber tiles | Poured-in-place EPDM | |
|---|---|---|
| Build-up | SBR base + EPDM wear layer, factory-made tiles | SBR cushion layer + EPDM granule top layer, mixed on site |
| Base | Concrete or asphalt | Compacted aggregate or concrete |
| Laid by | Your installer, tile by tile | An experienced local poured-in-place crew |
| What ships | Tiles, beveled ramp edges, corner pieces | Granule bags, PU binder drums with SDS |
| Outer edge | Beveled ramp edge pieces | Edge trim or concrete curb |
| Around posts | Tiles cut on site | Poured around the post |
| Colors | Partner color card | Partner color card, multi-color patterns and ground games |
| Repair | Spare tiles swapped in | Repair kit of granules and binder |
| Drainage | Permeable, drains through to the base | Permeable, drains through to the base |
Tiles or poured-in-place
Tiles suit sites with an existing concrete or asphalt base, such as a school yard or a slab being resurfaced, and crews who have not laid poured-in-place before.
Poured-in-place suits new sites built on compacted aggregate, zones with shaped outlines, and areas with patterns, games or route-edge color changes.
Your project manager can split a site between the two on the first layout.
Rubber Tile ConstructionSBR Base, EPDM Wear Layer, Dowel Pins and Beveled Edges
Each tile has a base of recycled rubber and a colored wear layer on top. The SBR base does the cushioning. The EPDM layer carries the color and takes the foot traffic.
- 01
Two layers · tile size
SBR base for cushioning, EPDM wear layer for color and foot traffic. Square tiles in the partner factory's standard size; the area table gives the tile count for each zone.
- 02
Thickness grades
Tiles come in thickness grades. Each zone on your drawing gets the grade set by the critical fall height of the equipment above it. How fall height and use zones are drawn is on playground layout design.
- 03
Joining
Tiles are joined by or interlocking edges, so neighboring tiles stay level and stay together once laid. Our QC trial-fits sample tiles before loading.
- 04
Beveled ramp edges and corner pieces
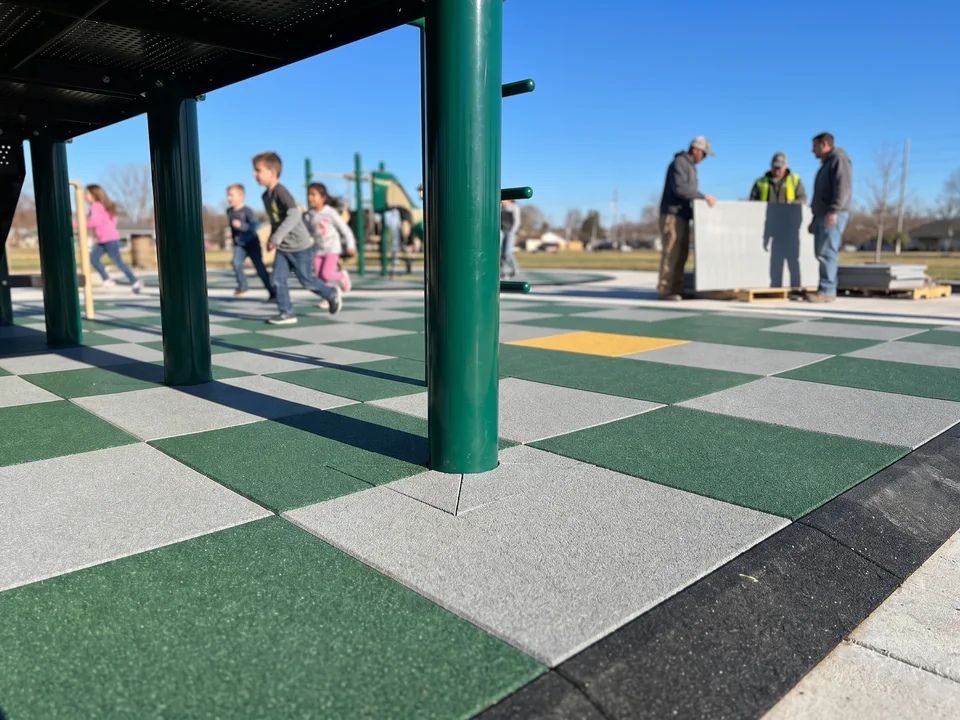
The outer edge of a tiled zone is finished with beveled ramp edge pieces, with corner pieces in the same color. Where a tiled zone meets a path, the ramp edge takes the walk-on down to the path level.
- 05
Around posts
Tiles are cut on site around each post, and the laying instructions show how. Cut pieces come from the zone's own tiles, and the spare tiles cover off-cuts.
- 06
Base
A concrete or asphalt base, built by your contractor to the base build-up in the laying instructions. An existing school yard slab or asphalt court can take tiles once it meets that build-up.
What you receive
- Tiles · on pallets by zone
- Ramp edges + corner pieces
- Dowel pins
- Laying instructions · per zone
Poured-in-Place EPDM ConstructionSBR Cushion Layer, EPDM Granule Top and PU Binder
Poured-in-place surfacing is laid as an SBR cushion base layer with an EPDM granule top layer. Both layers are bound with and mixed on site.
SBR granules · bags
For the cushion base layer.
EPDM granules · bags by color
For the top layer, in the colors on your drawing.
PU binder · drums · SDS included
An for the binder comes with the shipment for your crew and your freight forwarder.
Who pours it
An experienced local poured-in-place crew mixes and pours to the instructions, with video Q&A through your project manager.
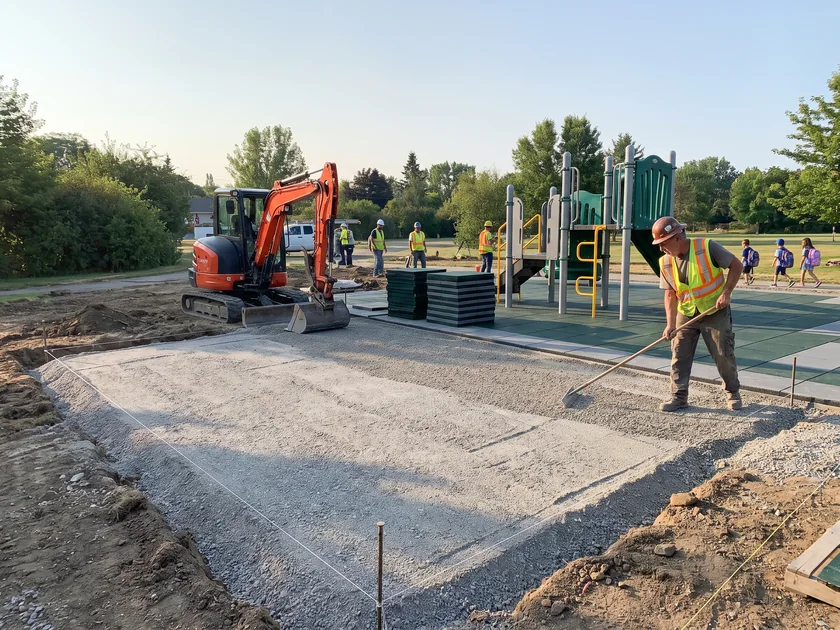
Base
Compacted aggregate or concrete, built by your contractor to the base build-up in the laying instructions.
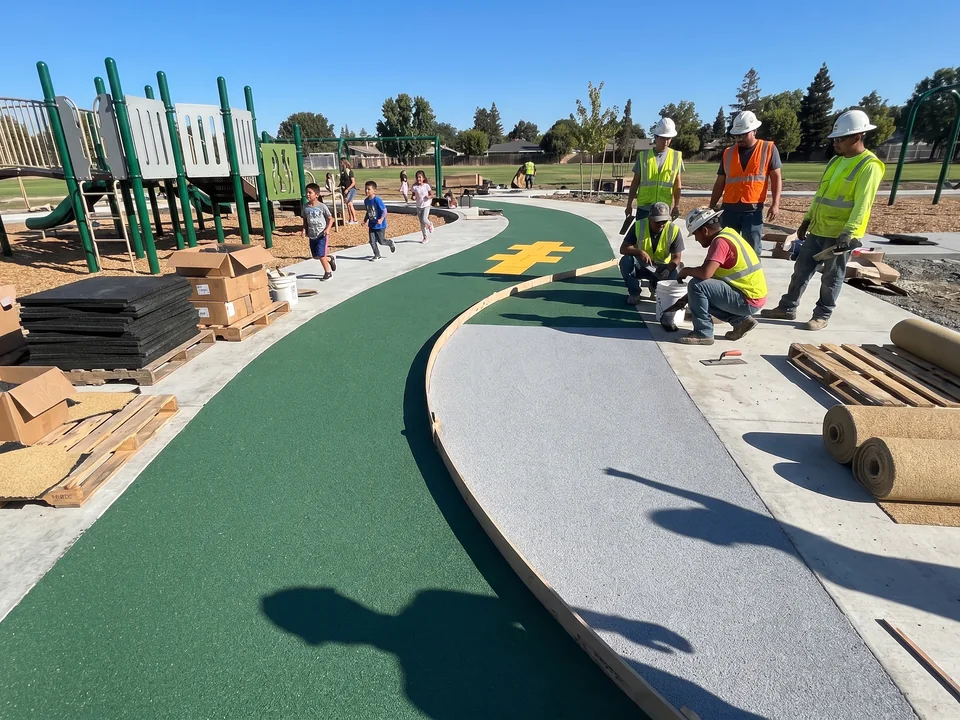
Colors and patterns
The EPDM top layer is mixed in colors from the partner's color card. Zones can carry multi-color patterns, ground games such as hopscotch, and color changes at the edge of the accessible route, all drawn on the surfacing layer so your crew pours to the drawing.
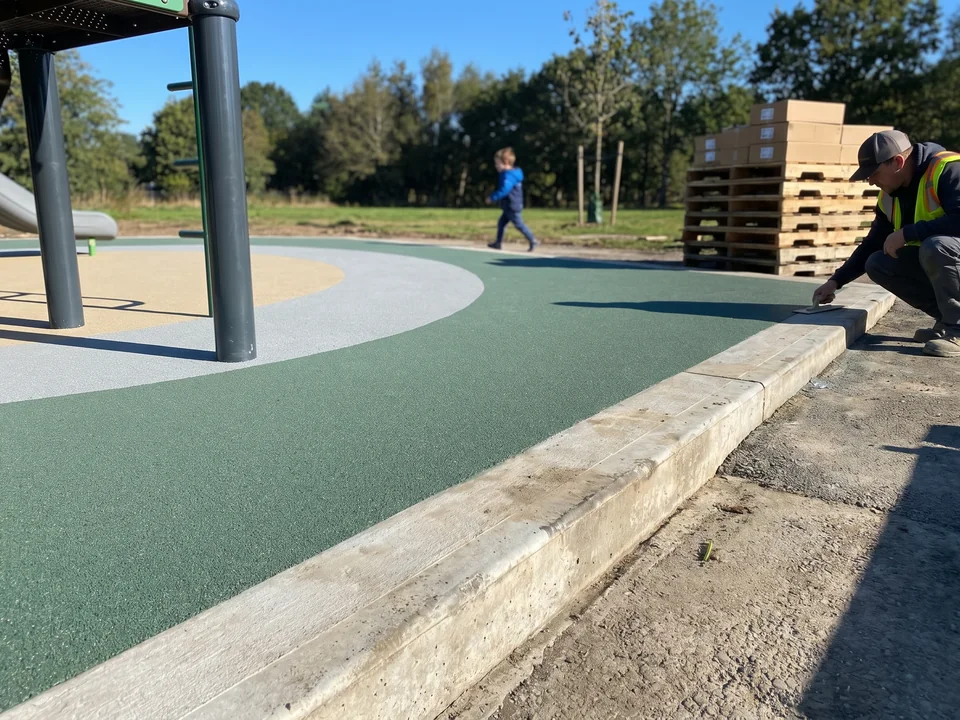
Outer edge
Finished with an edge trim or a concrete curb, and laid flush with the paths and hard surfaces beside it.
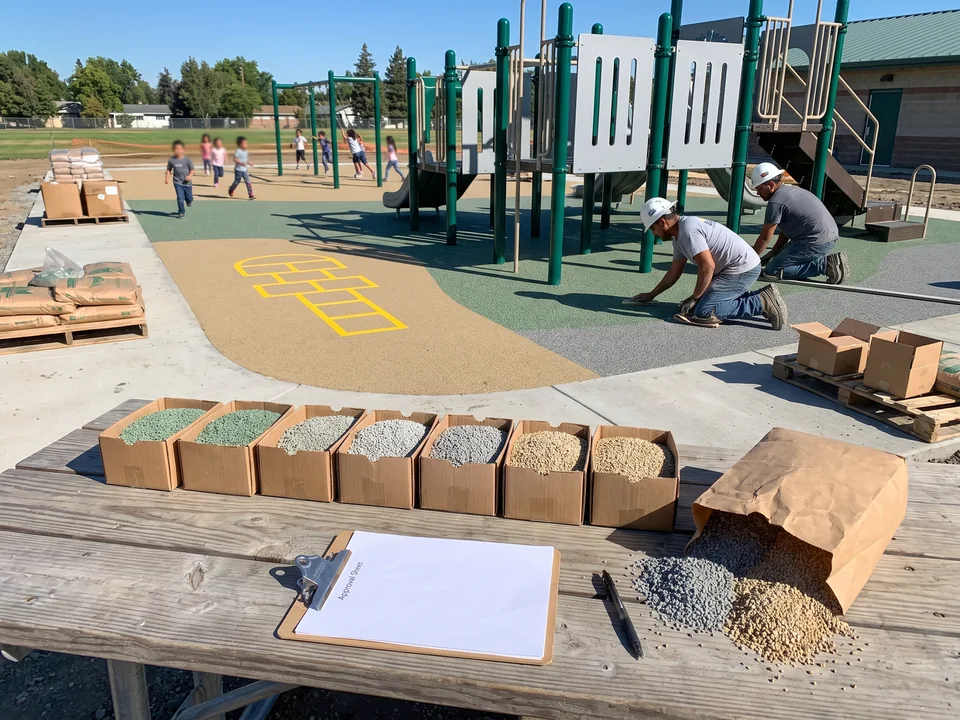
Color samples
A color sample for each color is sent for approval before production, and our QC checks the granules in your shipment against it.
Every surfacing zone has one P code,and the same code is on the drawing, the pallet label and the repair record.
- DrawingP1
- Pallet labelP1
- Repair recordP1
Surfacing Zones P1, P2One Zone Code From Drawing to Pallet to Repair
Surfacing is coded by zone, in the same numbering system as our equipment: S for play structures, W for swing frames, M for spinners, H for shade and P for surfacing zones.
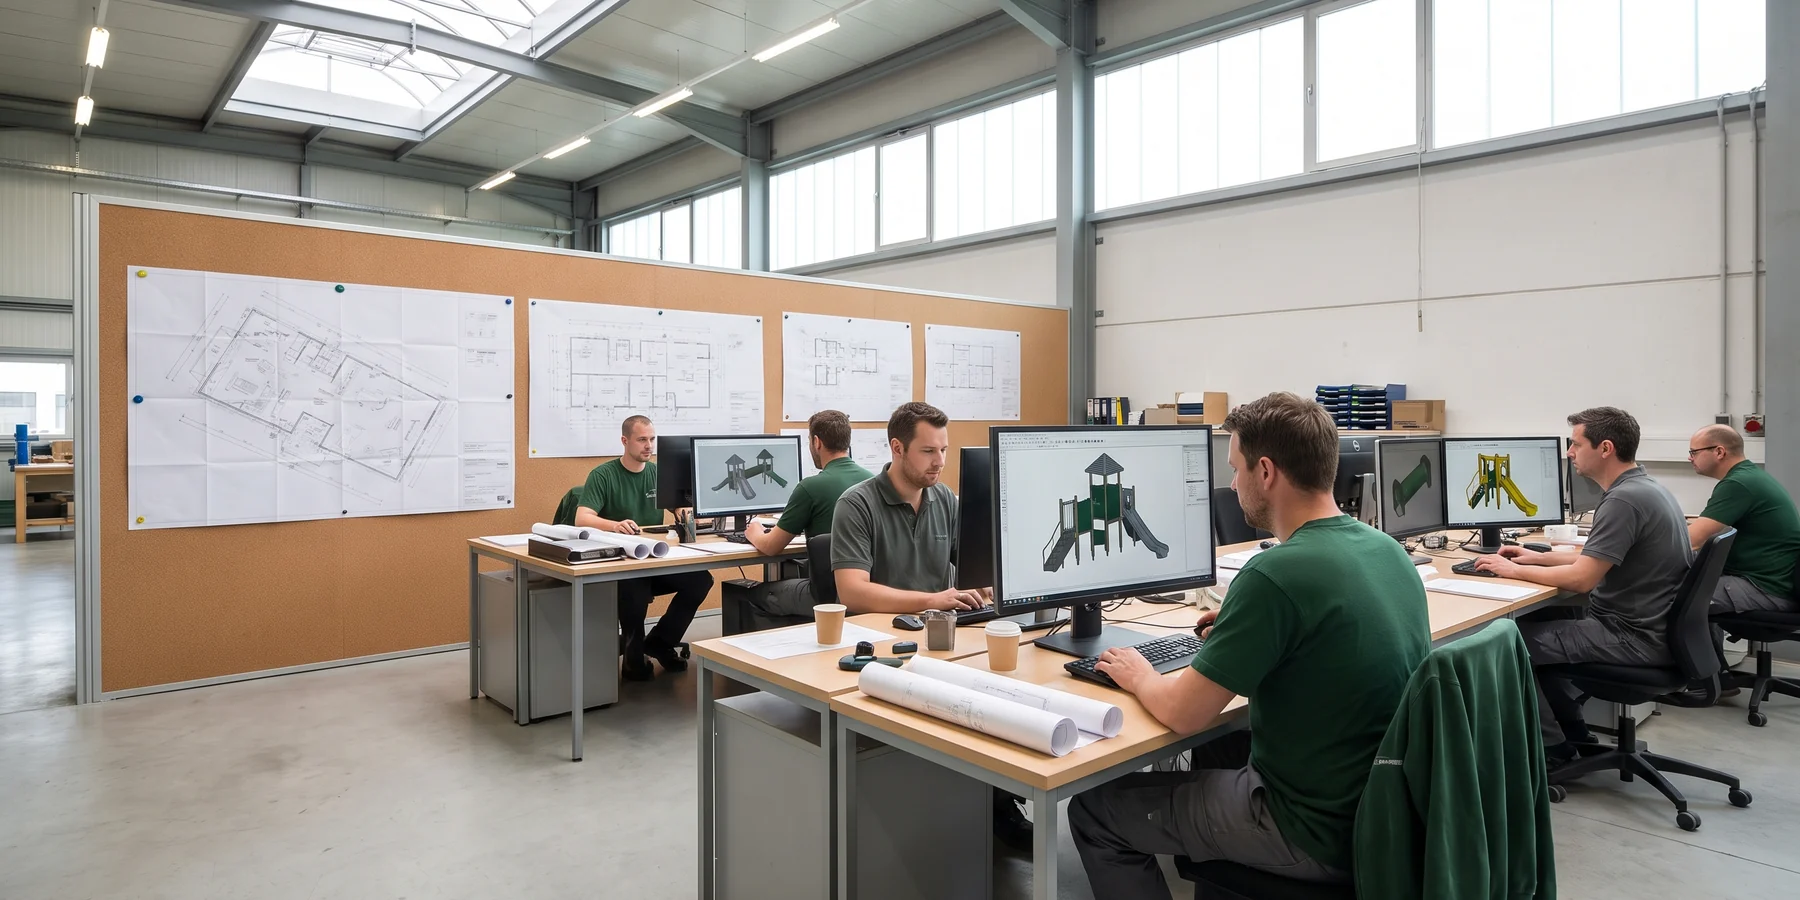
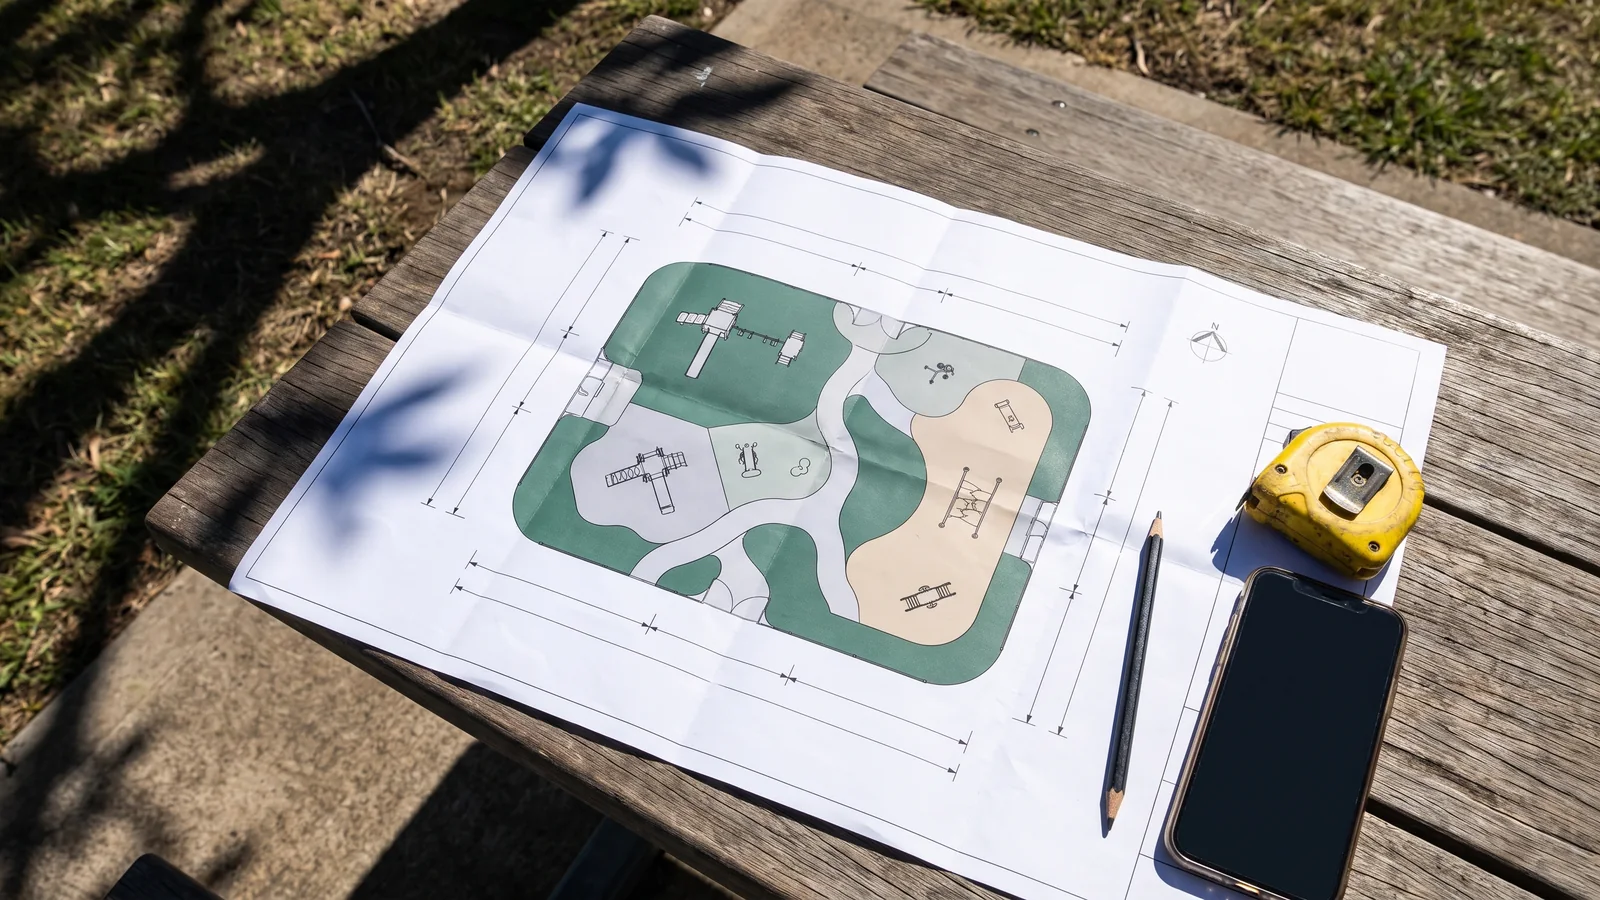
Surfacing is drawn on the site layout that carries your play equipment. The design office draws a surfacing zone under and around each structure, swing bay, spinner and freestanding piece, and gives each zone a P code with the material, thickness grade and color for that zone.
The thickness under each piece is set by the critical fall height of the equipment above it, to ASTM F1292 or EN 1177. Tiles, granules and binder ship on the same container plan as the equipment, each pallet and bag labeled with its zone code.
On the drawing · the area table
| Zone | Material | Thickness grade | Color | Under | Area |
|---|---|---|---|---|---|
| P1 | Rubber tiles | As drawn · CFH of S1 | Color card | S1 | Area table |
| P2 | Poured EPDM | As drawn · CFH of W1 | Color card | W1 | Area table |
| P3 | Poured EPDM | As drawn · CFH of M1 | Color card | Around M1 | Area table |
| P4 | Rubber tiles | As drawn · 2–5 area | Color card | 2–5 area | Area table |
Each zone on the surfacing layer states its material, rubber tiles or poured-in-place EPDM; the thickness grade, set by the critical fall height of the equipment above it; the color or pattern.
It also states the equipment it sits under, by structure number, for example under S1 or around W1, and its area, from the surfacing area table.
The area table is broken down the same way, one row per zone, and the surfacing lines on your quotation are taken from it. How the table feeds the quotation is on playground equipment cost.
- 1
On the drawing
Material, thickness grade, color, the equipment above and the area, for every zone on the surfacing layer.
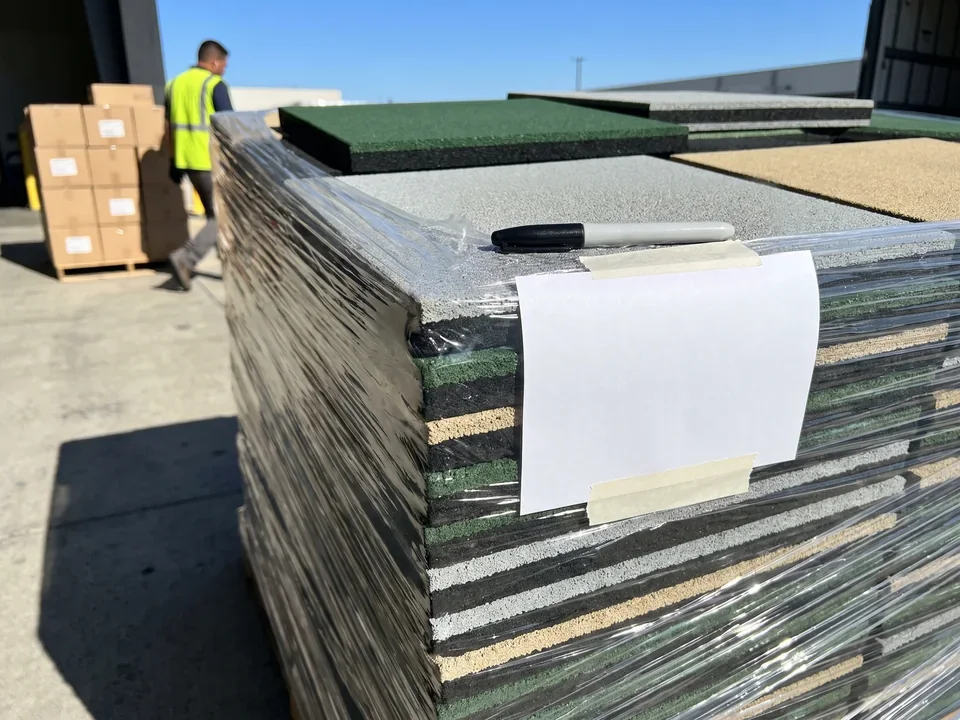
On the pallets and bags
Tiles, edge pieces, granule bags and binder drums are labeled with their zone code. At unpacking your crew stacks the materials zone by zone next to where they will be laid.
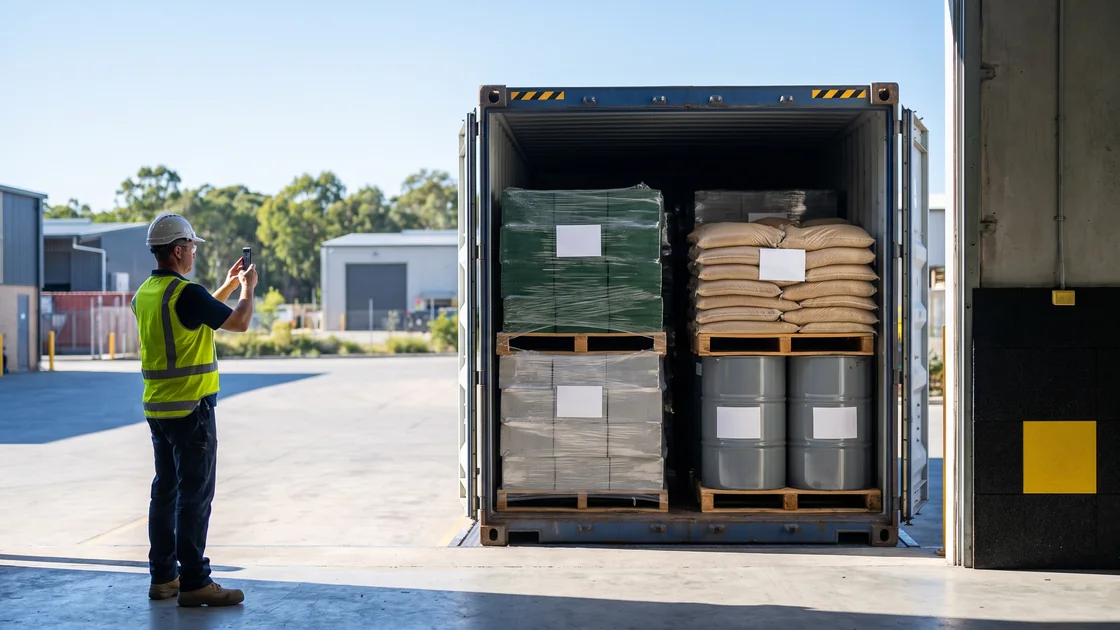
On the packing list
The packing list has a line per zone, and the loading photos of each container before sealing show the labels.
In the laying instructions
Sectioned by zone. The
P1section covers its base build-up, thickness grade, edges and corners, the cuts around the posts above it, and where it meets the next zone or a path.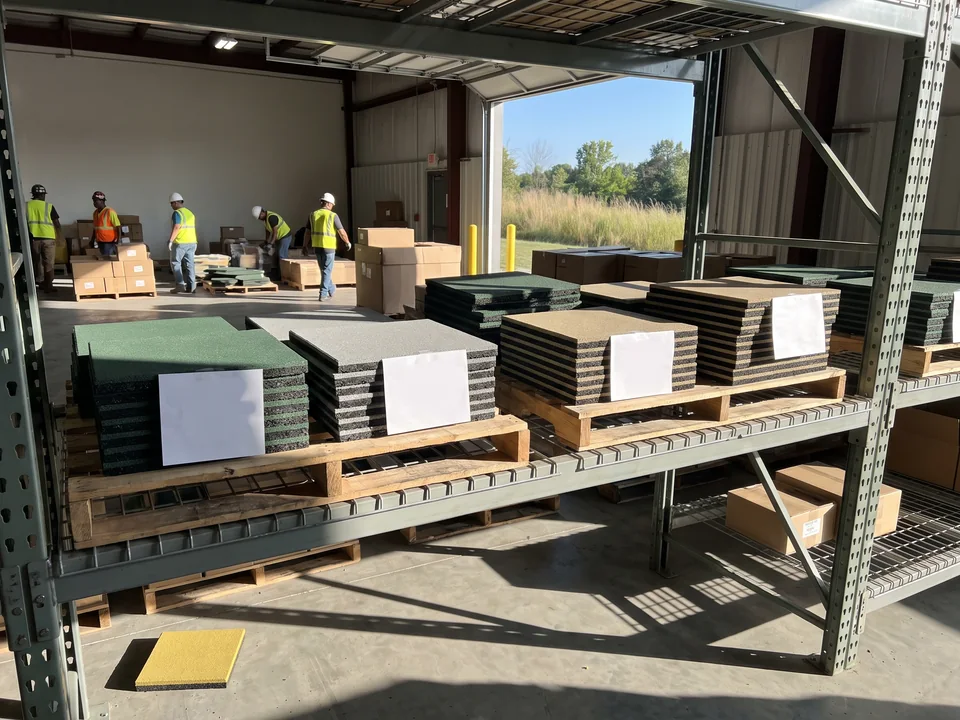
In the spares and the record
Spare tiles are packed for each thickness and color. After handover the zone record stays in your project file; a repair is made to that record from a photo and the zone code.
Your crew lays each zone with the right materials, your inspector can check each zone against the drawing, and every later repair matches the zone it goes into.
- SStructures
- WSwings
- MSpinners
- HShade
- PSurfacing
Surfacing Edges and InterfacesPosts, Spinner Pits, Timber Bases, Drain Points and the Accessible Route
Where the surfacing meets equipment, paths and drainage, each interface is drawn on your layout and described in the laying instructions. How the whole site is drawn as one plan is on commercial playground equipment.
-
- 01Posts
- 02Spinner pits
- 03Timber pieces
- 04Drain points
- 05Paths and hard surfaces
- 06The accessible route
- 07Loose-fill and turf edges
Surfacing layer · seven interfaces · point at a number - 01
Posts
Play structure posts are set in concrete to our footing detail drawings. Tiles are cut on site around each post, and poured-in-place is poured around it. The footing points layer and the surfacing layer sit on the same drawing, so your crew sees every post inside each zone.
- 02
Spinner pits
Ground-level spinners sit in a shallow pit. The pit and footing detail drawing shows the pit outline, the center footing, the drain point and the gap from the deck edge to the surfacing, drawn to CPSC values.
Excavation, concrete, drain pipe and the surfacing edge at the pit are built by your side to that drawing.
- 03
Timber pieces
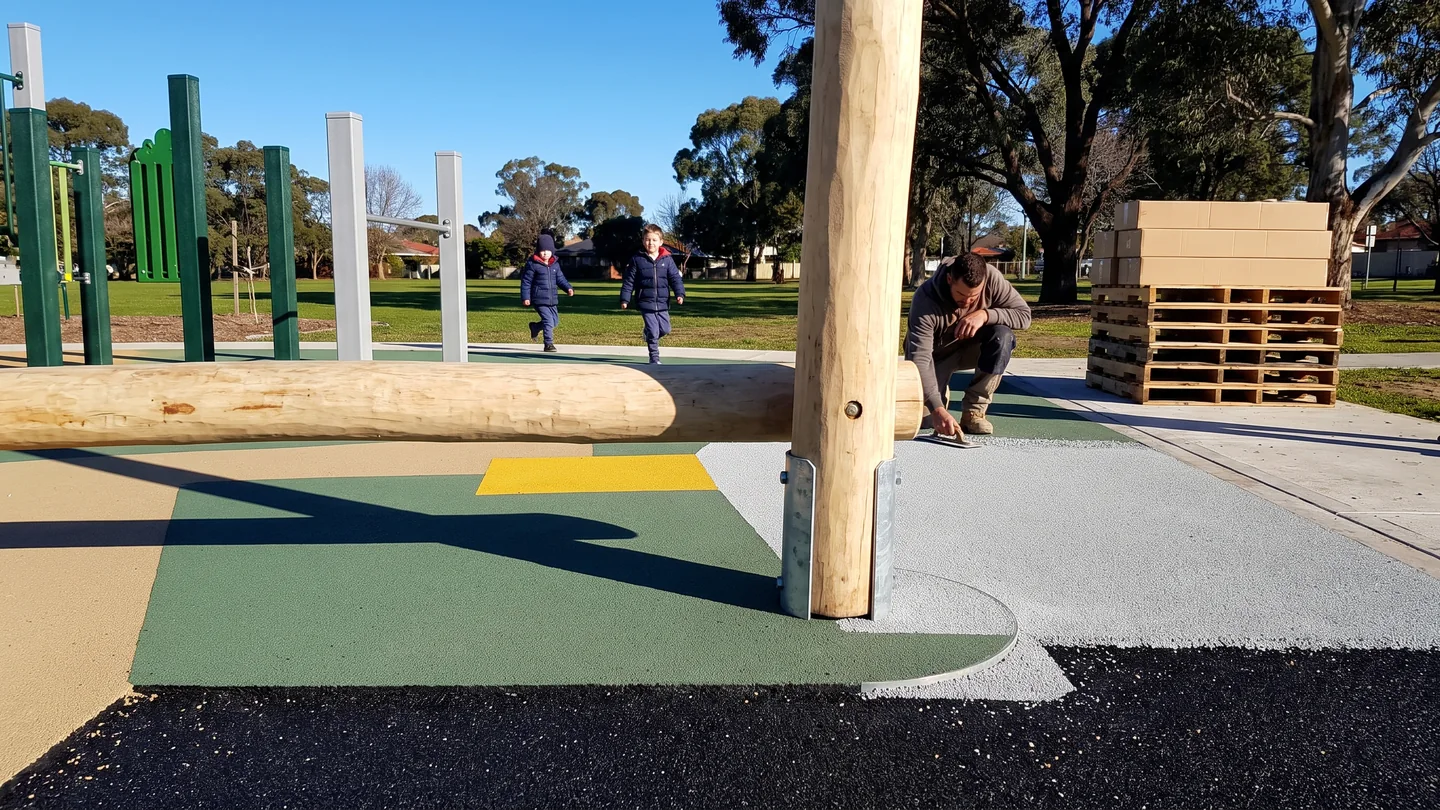
Nature play timber stands on steel post shoes cast in concrete, with the timber base above the surfacing. The surfacing runs up to the shoe.
- 04
Drain points
Both surfaces are permeable and drain through to the base. Base falls and drain points are drawn on the layout, including the drain point in each spinner pit.
- 05
Paths and hard surfaces
Surfacing is laid flush with the paths and hard surfaces beside it. Tiled zones finish with beveled ramp edges. Poured-in-place zones finish with an edge trim or concrete curb.
- 06
The accessible route
On the accessible route the surfacing meets the path with no step, and the surfacing under and around equipment on the route is specified to . The surfacing can change color at the route boundary.
- 07
Loose-fill and turf edges
Where a zone meets a wood chip, sand or artificial turf area, the edging between them is drawn on the layout.
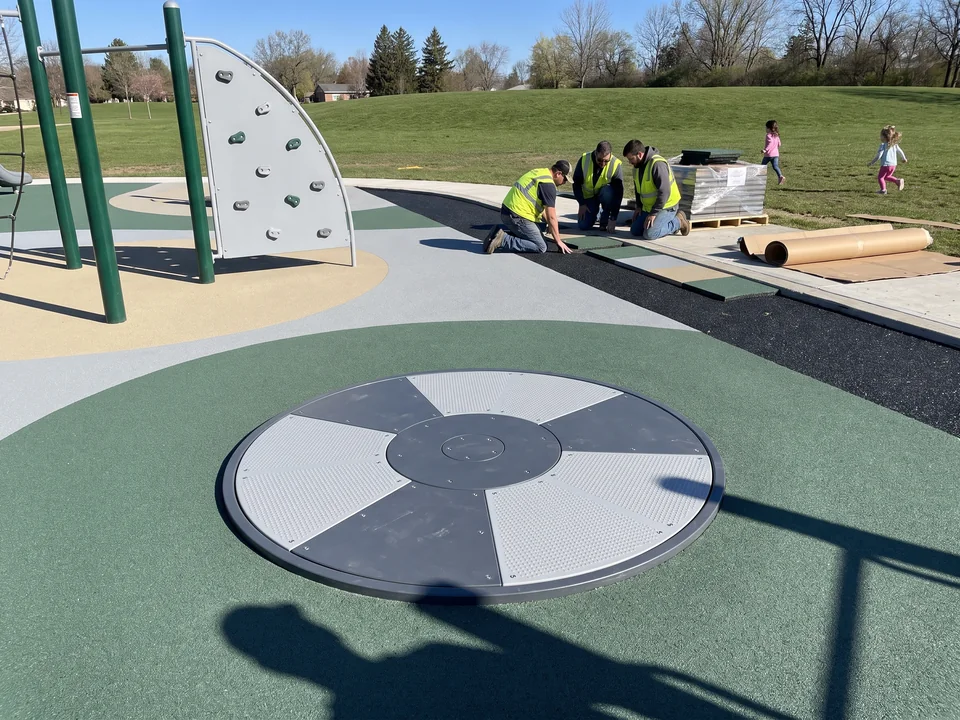
Spinner pit · even gap, no step
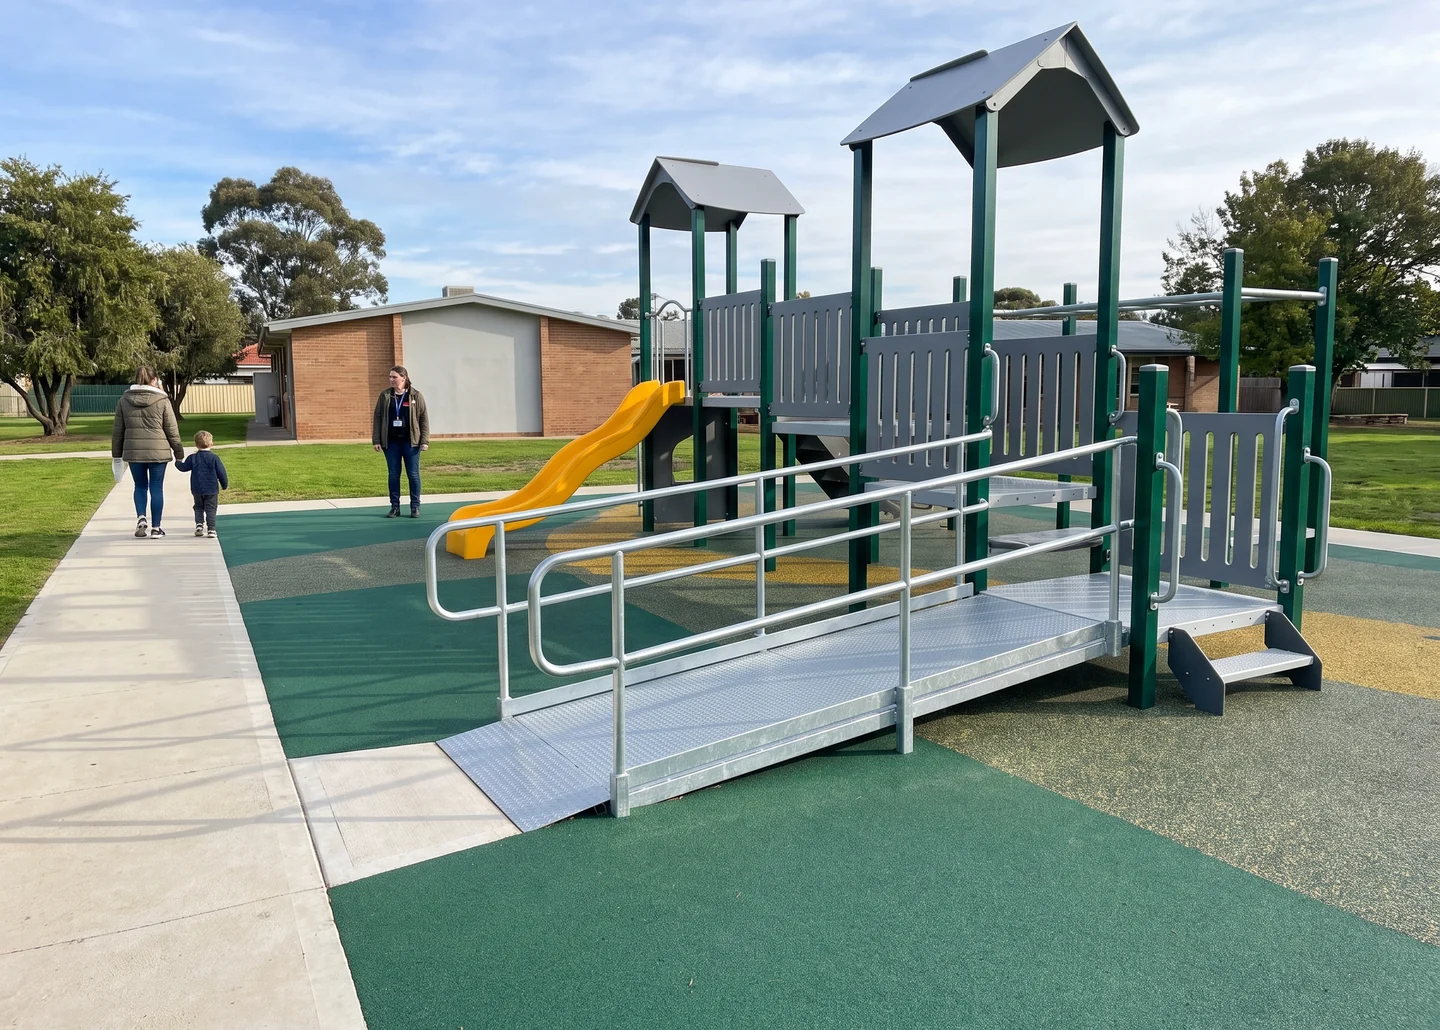
Transfer platforms and ramps: inclusive playground equipment
Surfacing Colors, Patterns and Ground GamesDrawn on the Surfacing Layer
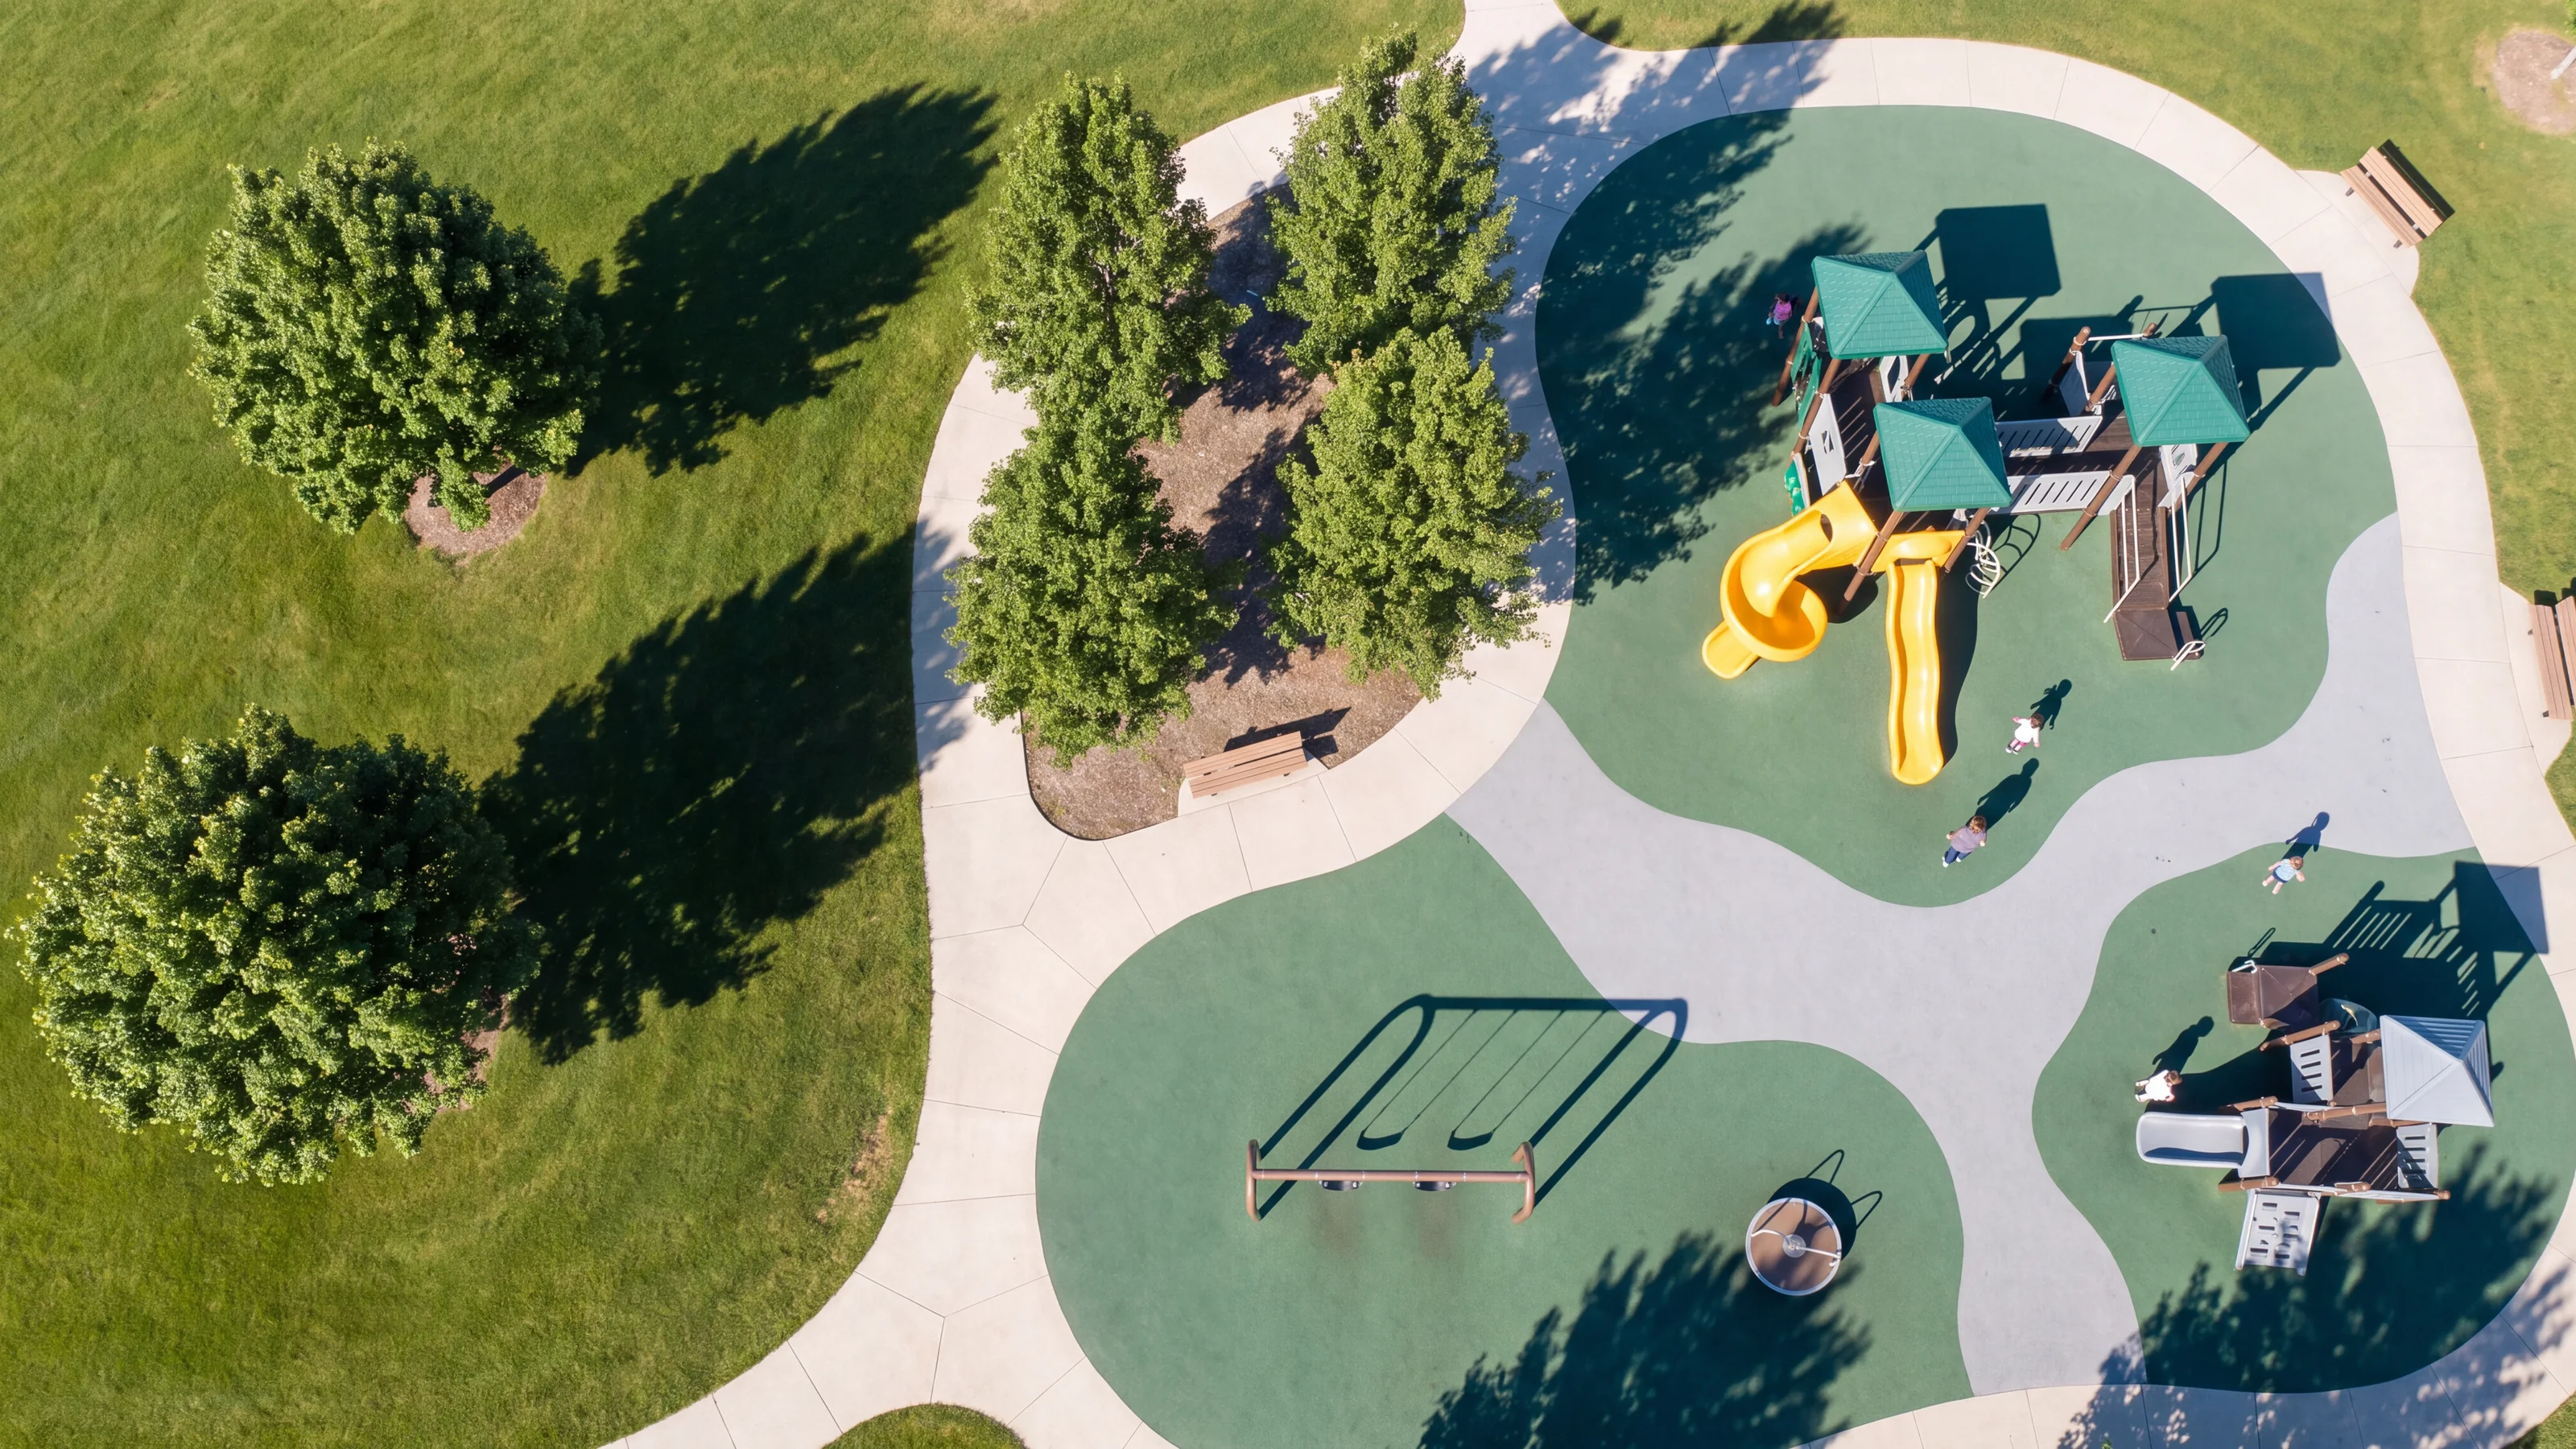
Patterns
Multi-color patterns inside a poured-in-place zone, drawn to scale on the surfacing layer and poured to the drawing.
Colors
EPDM colors from the partner's color card, for tiles and poured-in-place alike.
Color by zone
Each zone can take its own color, so age zones read clearly on the ground.
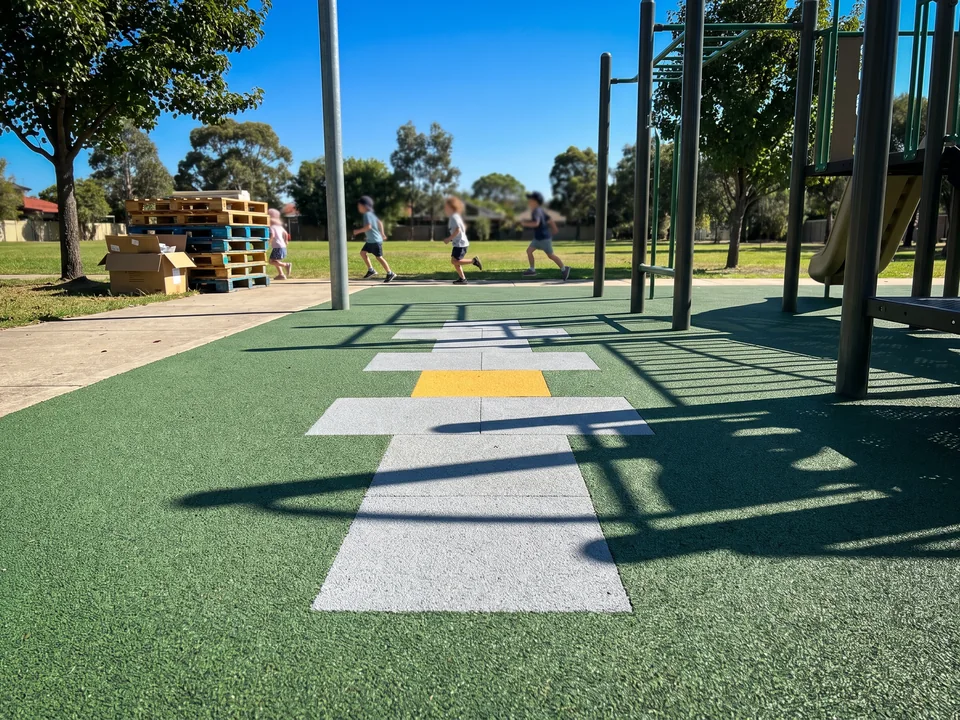
Ground games
Hopscotch and other ground games laid into the surface.
Route edges
A color change at the edge of the accessible route.
Trike paths
Trike paths drawn on the layout with partner surfacing; see preschool and daycare playground equipment.
Color approval
Tile samples and poured-in-place color samples are sent for your approval before production.
Dealers
Layouts and renders with surfacing zones go out unbranded or under your brand; see wholesale playground equipment.
Surfacing Inspection Before LoadingThickness Grade, Color, Quantity and Dowel Fit
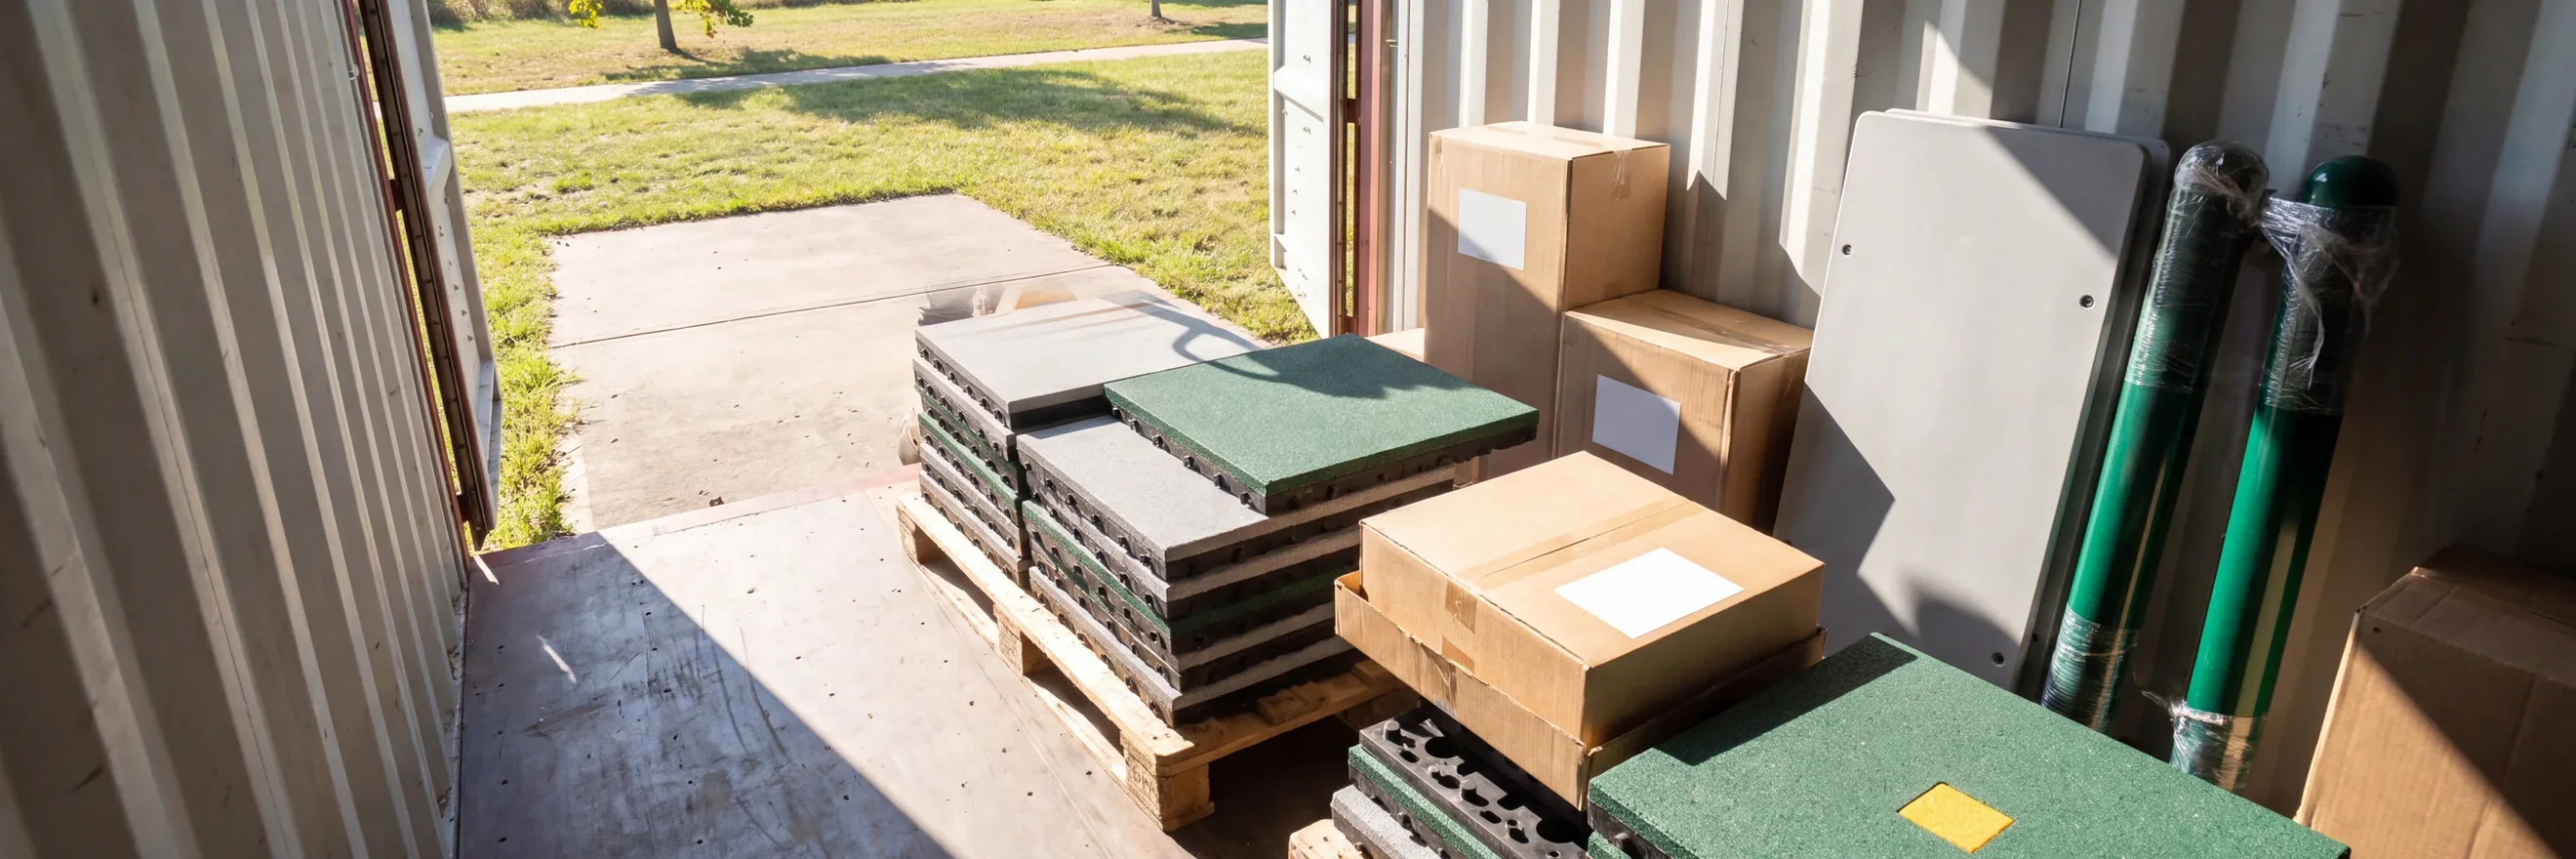
Surfacing is made by partner factories. Our QC team inspects it against your order before it goes into the container.
Before loading, our QC team checks the partner surfacing against your order: thickness grade against the zone plan, color against the sample you approved, quantity against the area table, and a dowel trial-fit of sample tiles.
- 01Thickness grade = zone plan
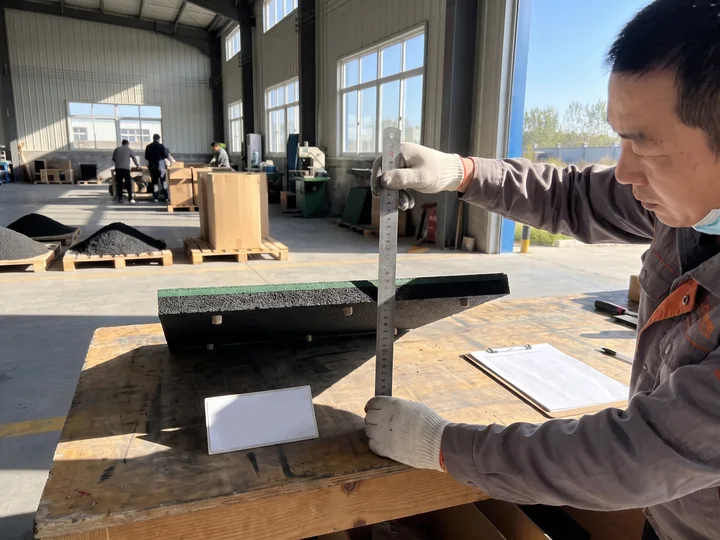
Thickness grade against the order and the zone plan
Each zone's tiles or materials are checked against the thickness grade on the zone plan and on the order. A pallet labeled
P1has to carry the grade drawn forP1. - 02Color = approved sample
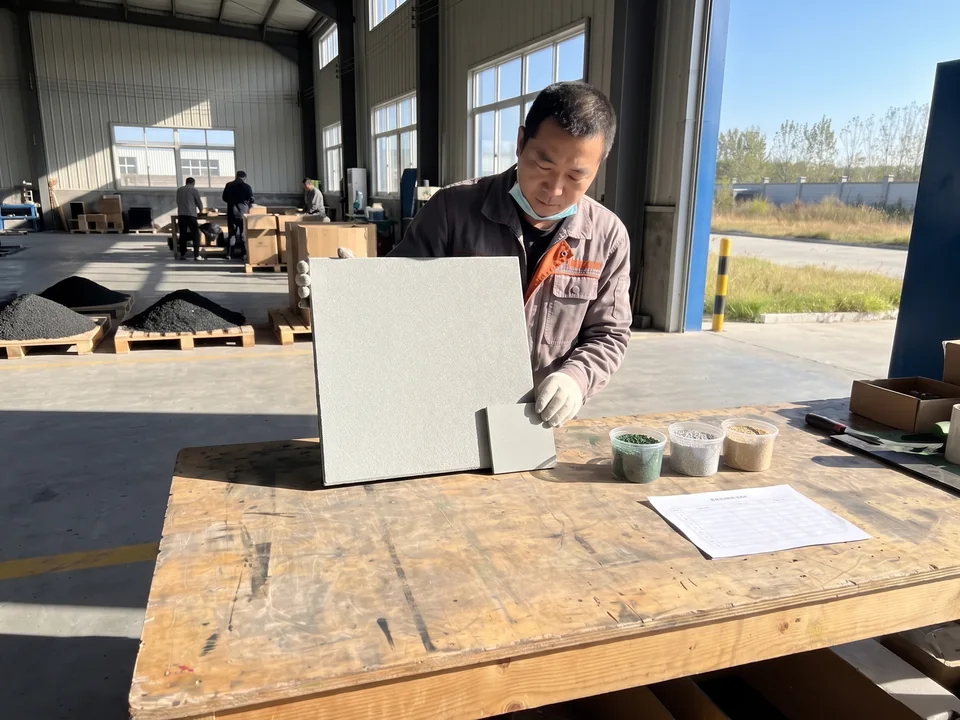
Color against the approved sample
Tile wear layers and poured-in-place granules are checked against the samples you approved before production.
- 03Quantity = area table
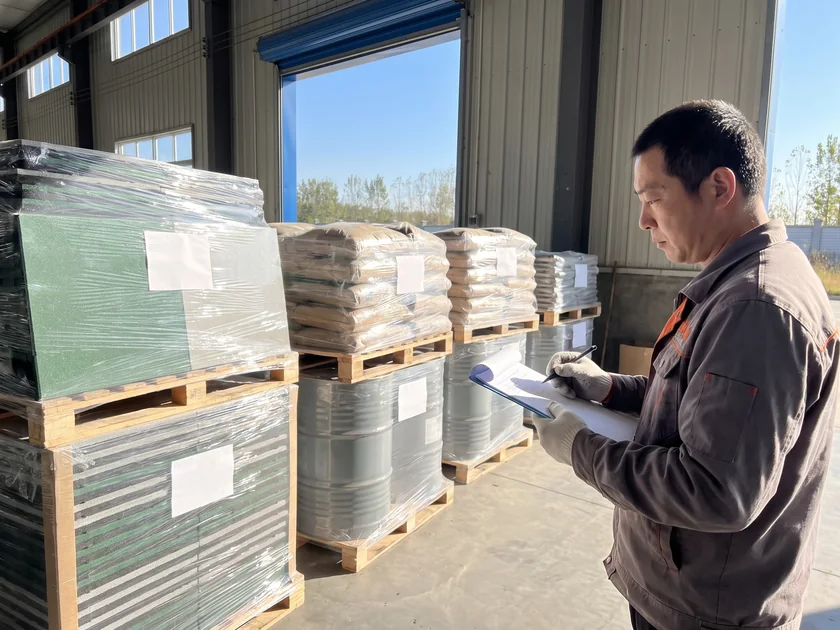
Quantity against the area table
Tile counts, edge and corner pieces, granule bags and binder drums are counted against the area table for each zone, plus the spare tiles and repair kit.
- 04Dowel fit = sample tiles joined
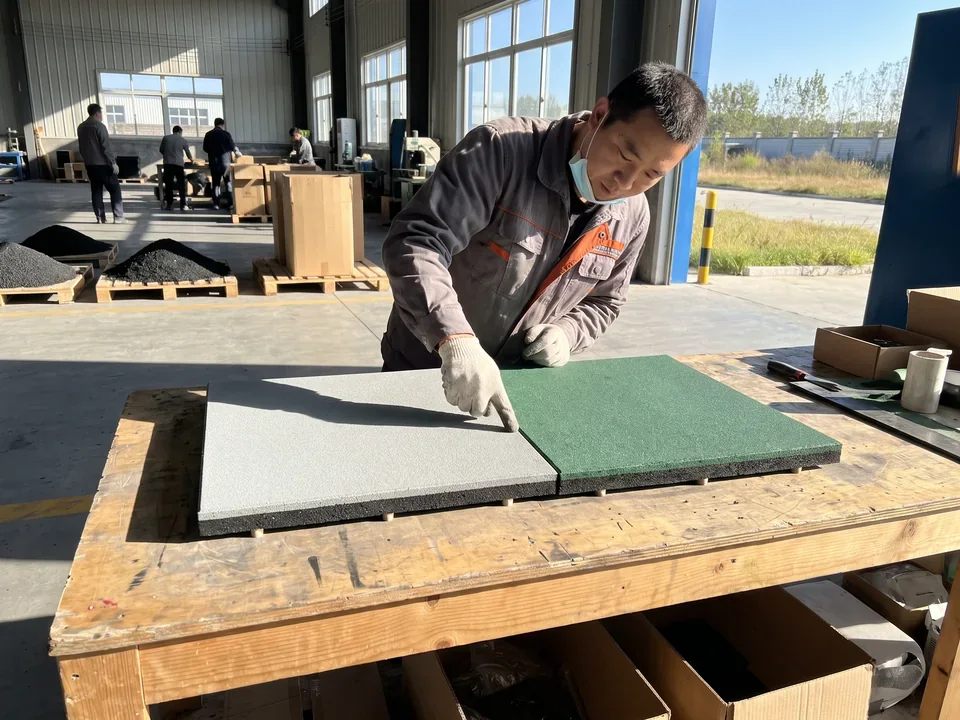
Dowel trial-fit
Sample tiles are joined with their dowel pins to check the fit before the pallets are closed.
- Check fails
- Pallet or batch remade or replaced by the partner
- Checked again
- Loaded
One loading date
A pallet or batch that fails any check is remade or replaced by the partner before loading.
The surfacing partner is scheduled to the same loading date as our workshops, so the surfacing ships with the equipment it goes under. How a project runs from drawing to container is on how we build playgrounds.
Documents with your quotation
Your quotation lists the critical-fall-height data from the surfacing partner for the surfacing specified, with the design compliance statements for the equipment.
- 1Critical-fall-height data · from the surfacing partner
- Design compliance statements · for the equipment
Send your site plan and your equipment list.
Zones coded P1, P2 · area table · 3 working days Send Your Site Plan- P1From your site plan
- P2From your site plan
- P3From your site plan
Surfacing Laying SupportInstructions by Zone and Video Q&A
Surfacing is laid by your side. The zone plan, the materials and the instructions to lay them come from us.
Your installer lays the tiles. Poured-in-place is mixed and poured by an experienced local crew to the mix instructions.
- 01
Footings first
Post footings are set to the footing detail drawings, which reach your installer during production, before the base and surfacing go down.
Drawings in the 20–30 days of production - 02
Base to the build-up
Your contractor builds the base to the build-up in the laying instructions: concrete or asphalt for tiles, compacted aggregate or concrete for poured-in-place.
- 03
Lay each zone
Each zone is laid from its own labeled materials and its own section of the instructions.
Tiles · your installer | poured · experienced local crew - 04
Completion checklist
The inspection and maintenance guide in your project package includes an installer's completion checklist for before the inspector visits. The full sequence is on playground equipment installation.
- Base build-up
- Thickness grade
- Edge and corner pieces
- Cuts around posts · S1
- Pit and route edges
- Where P1 meets P2 or a path
Video Q&A
Questions go through your project manager by video call. Send photos and the zone code, and the answer comes back against that zone's section.
Photos + the zone code · answer against that section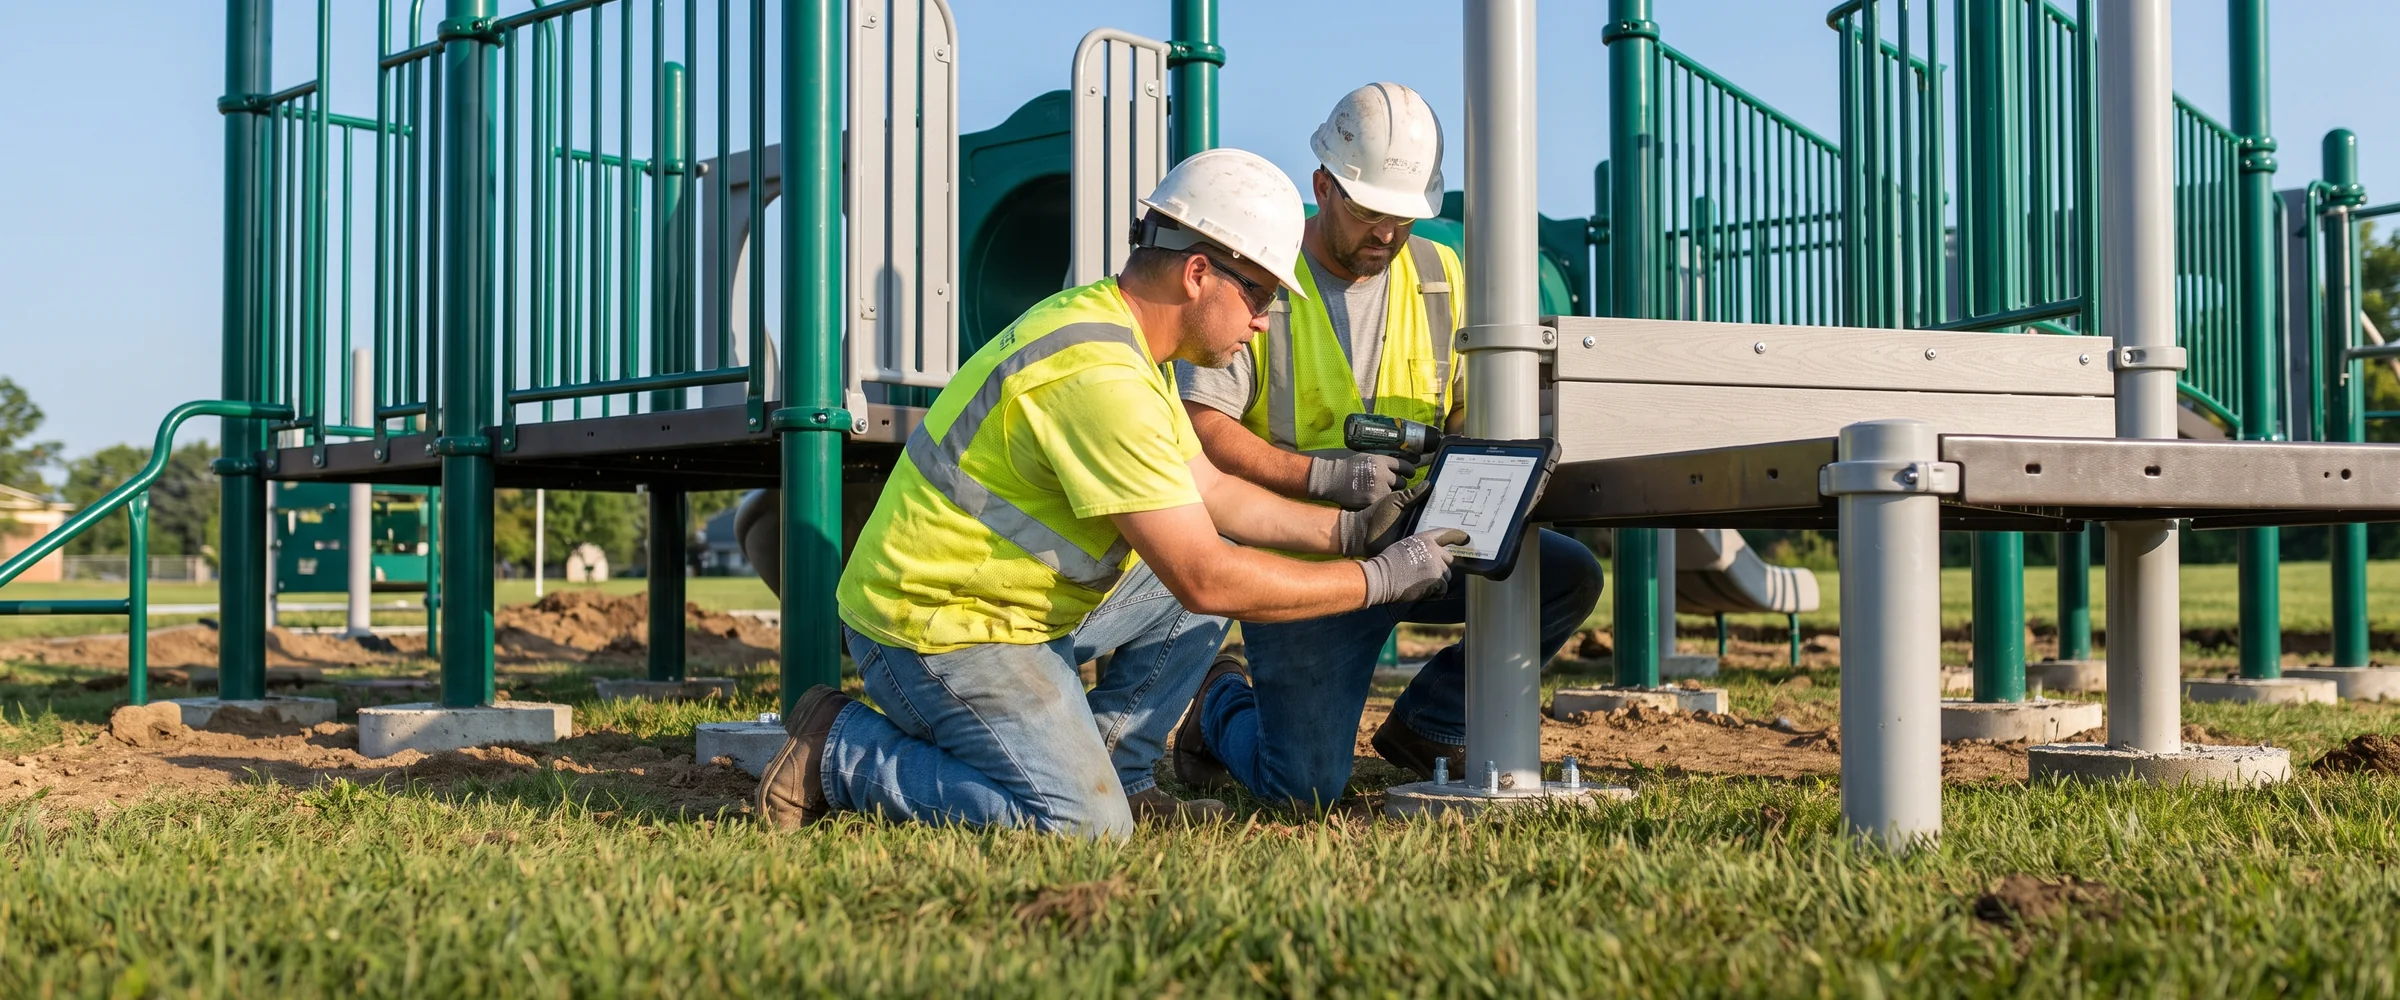
Spare Tiles, Repairs and WarrantySurfacing Repaired to the Zone Record
Spare tiles for each thickness and color, and a poured-in-place repair kit of granules in your colors and binder, come in every shipment.
- Material
- Rubber tiles
- Thickness grade
- As drawn
- Color
- As approved
- Area
- From the area table
- Under
- S1
- Spares
- Packed for this grade and color
Ordering a repair
Send a photo of the area and the zone code from your drawing or packing list. Replies come within 24 hours on business days, the zone record is confirmed, and the tiles or repair materials are made to the same material, grade and color.
- Photo + zone code
- Reply within 24 hours on business days
- Made to the same material, grade and color
- Air courier · small | next shipment · larger
Warranty
Surfacing is a wear surface, repaired to the zone record in your project file.
Adding zones later
A second phase adds new P codes on the same layout and in the same project file, so new zones match the colors already on site.
What to Send for a Playground Surfacing Quotation
Eight items in one message are enough for the design office to draw every zone and build the area table your quotation comes from.
- Site plan with dimensions, and the equipment already on site or planned
- The standard you work to: ASTM F1292 and ASTM F1951, or EN 1177
- Surface wanted for each area: rubber tiles, poured-in-place EPDM, or let the design office propose
- Existing base: concrete, asphalt, compacted aggregate or bare ground
- Colors, patterns or ground games you want
- Where the accessible route runs, if the site has one
- Any wood chip, sand or turf areas to show on the layout
- For repairs: a photo and the zone code, for example
P1
Send to Anna · WhatsApp +86 177 0272 7677